Author: whinjinpom
Board Game Creator
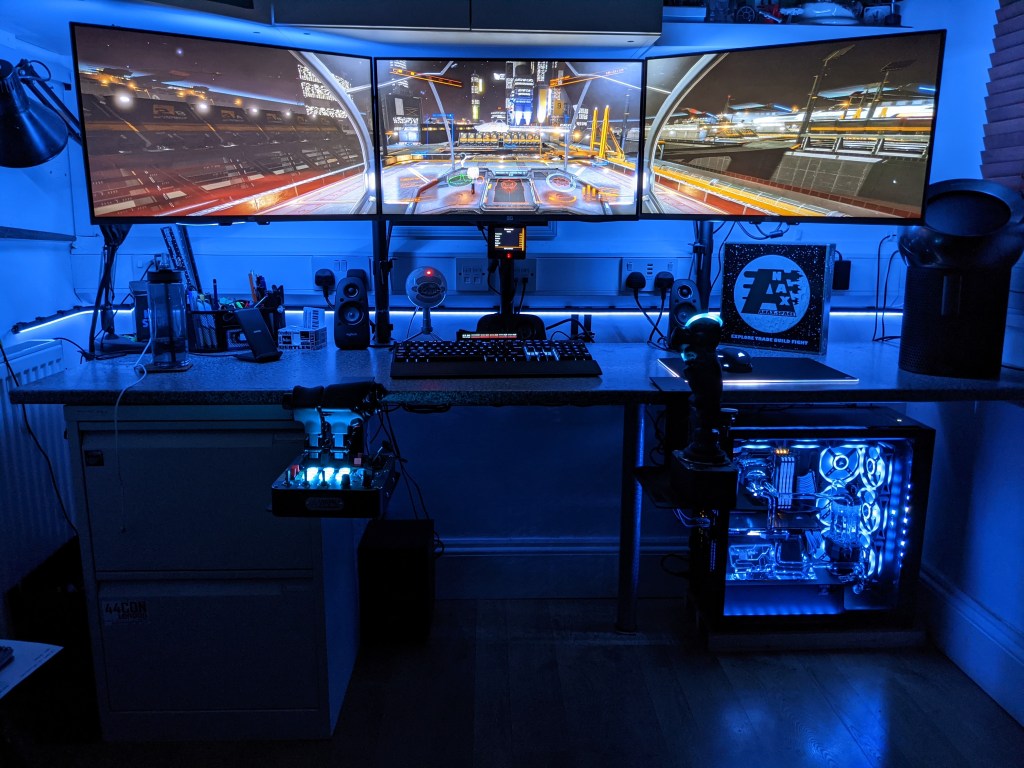
Corsair Liquid Cooled PC Build
Off topic but it has been a while since I built my own computer (2013!) and thought I would share my experience
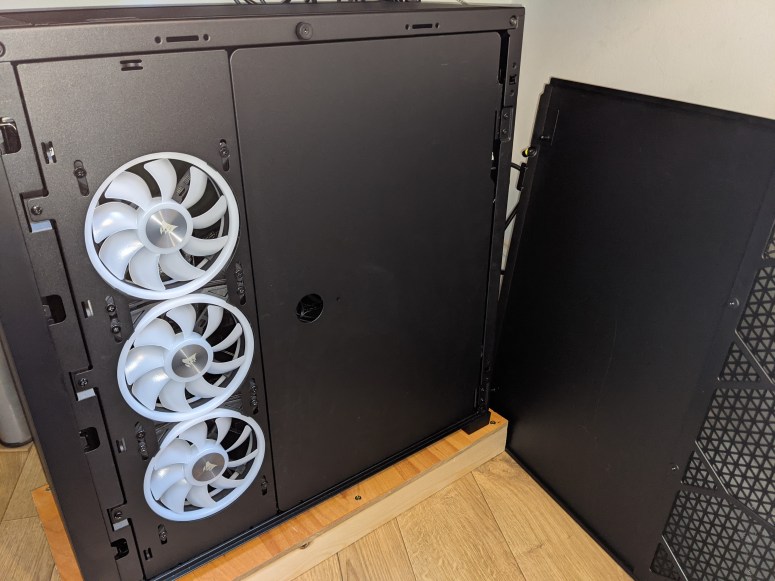
- Corsair 5000D Case,
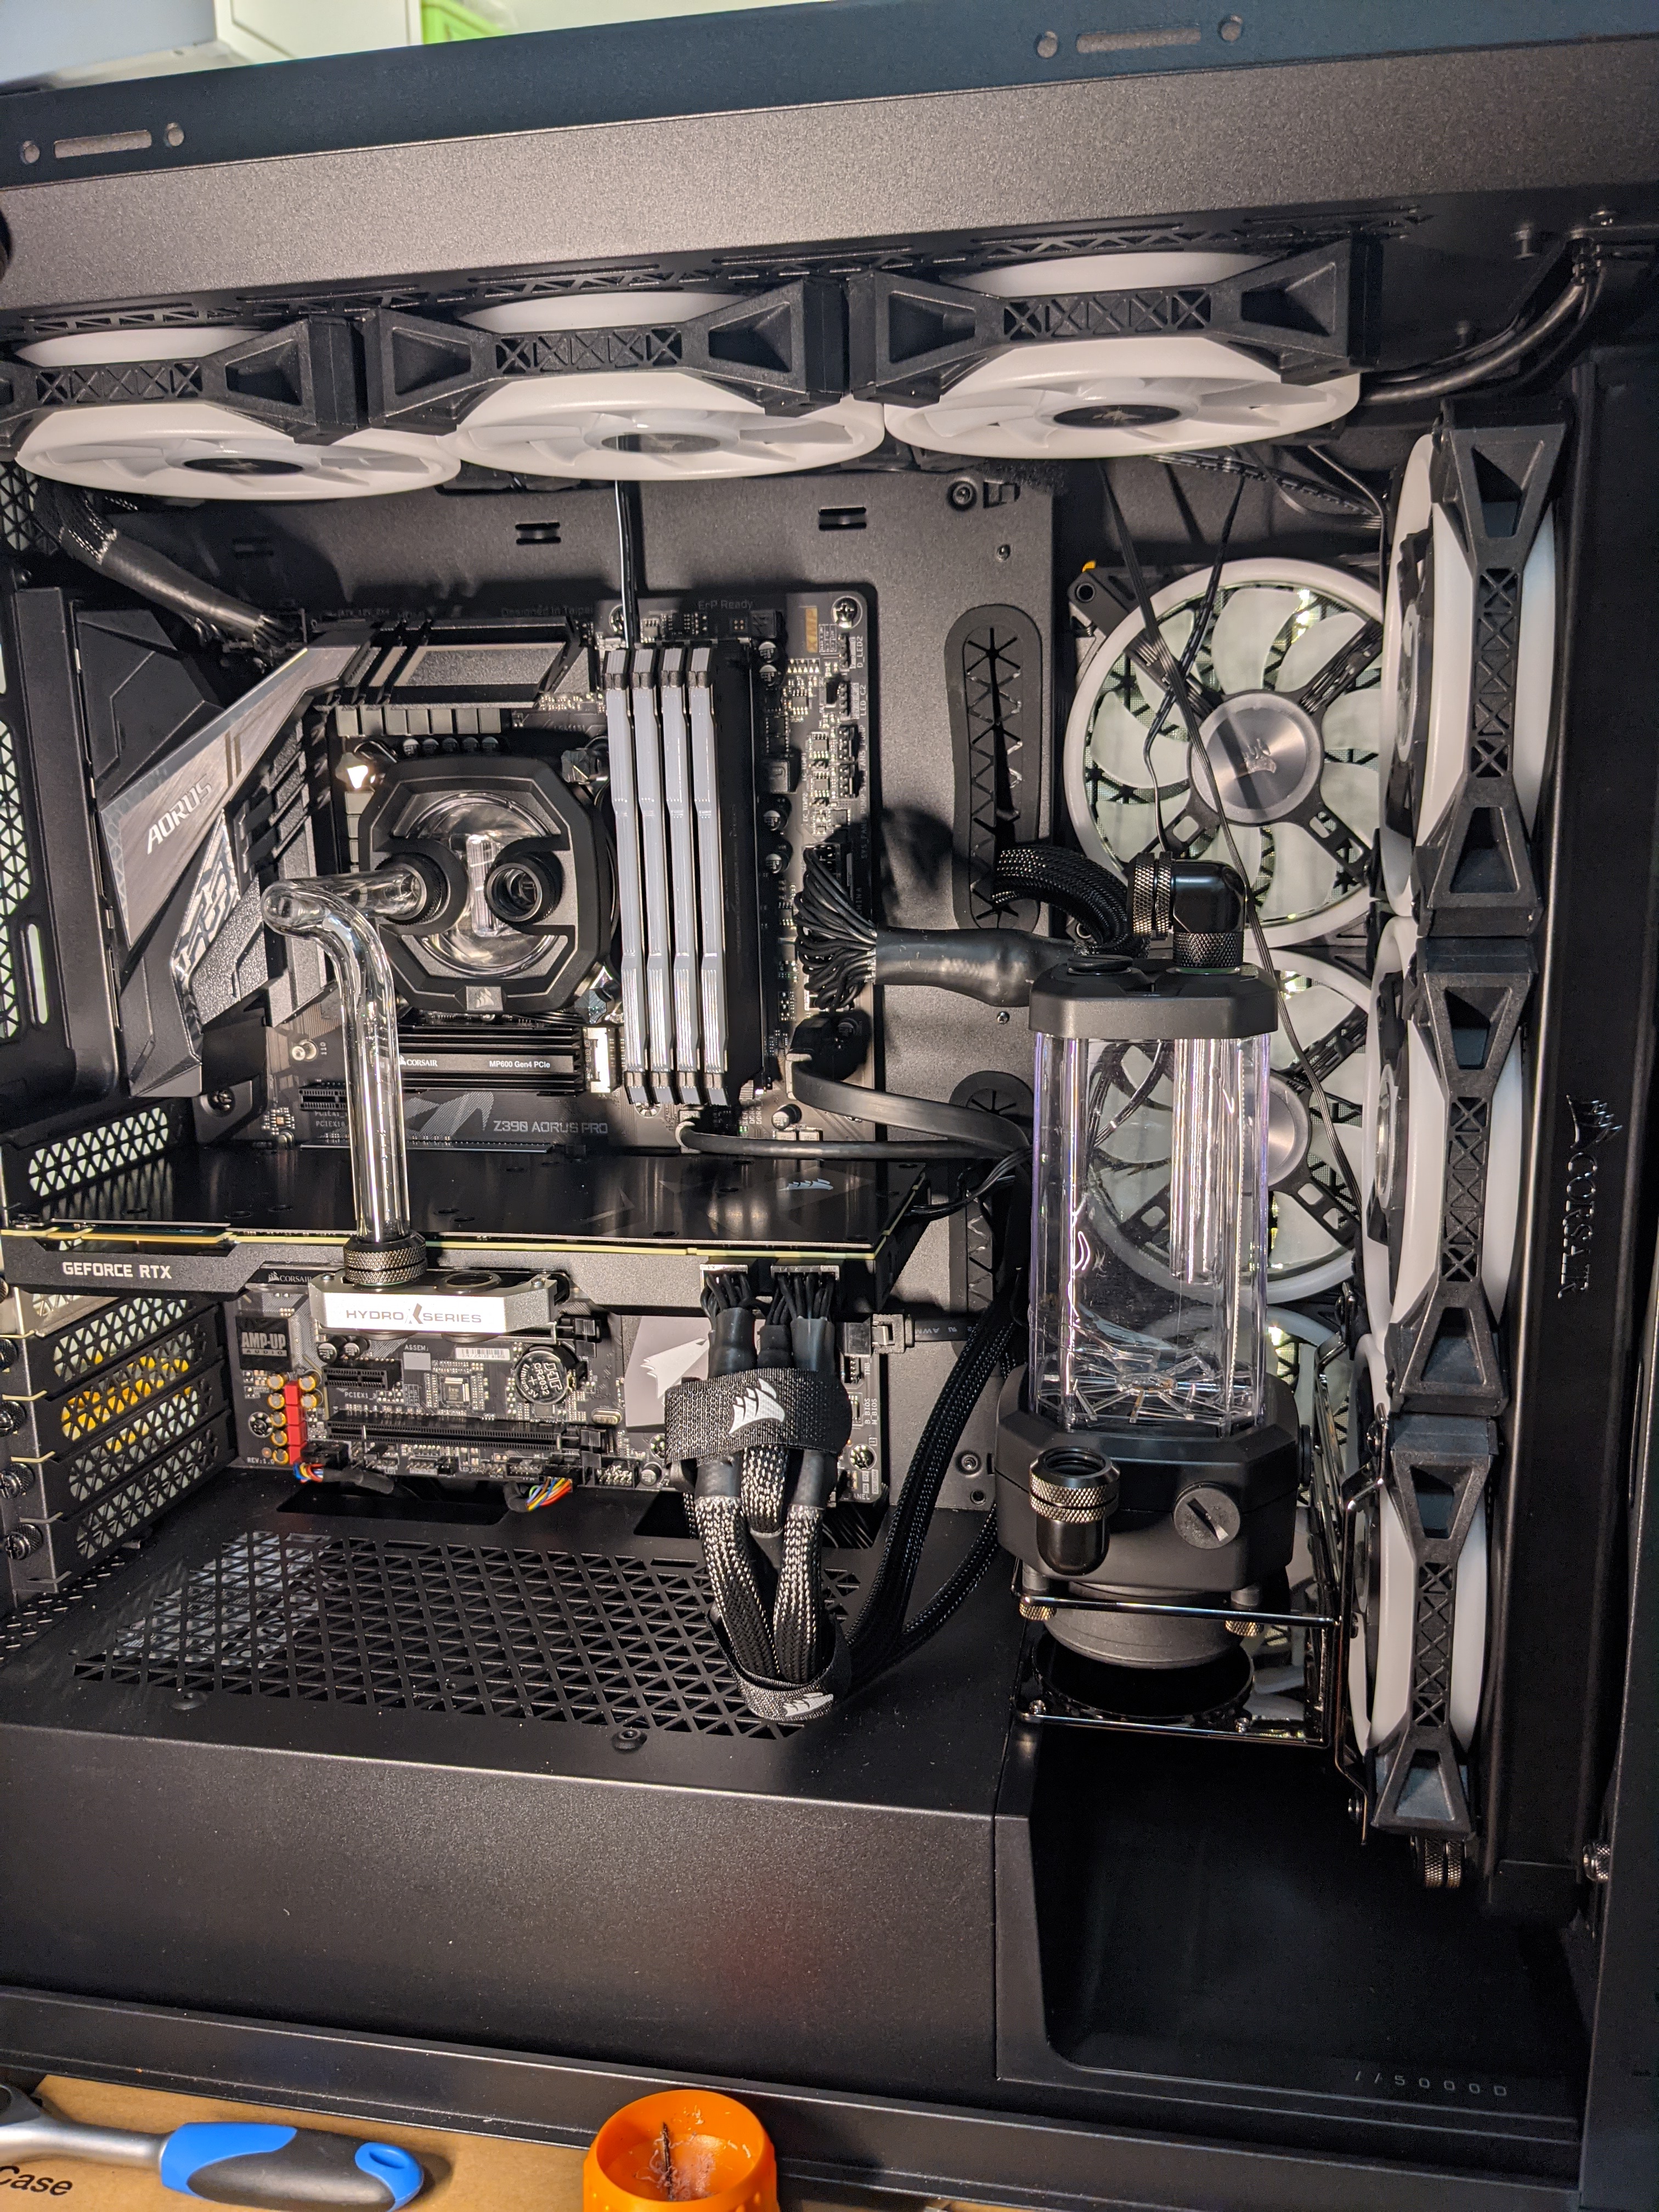
- Corsair Hydro X Series iCUE XH305i RGB Custom Cooling Kit (XC7 RGB (115X/AM4) CPU water block, XD5 Pump/Reservoir Combo, XL5 Coolant, XR5 Radiator, 3 x QL120 RGB Fans, iCUE Commander PRO),
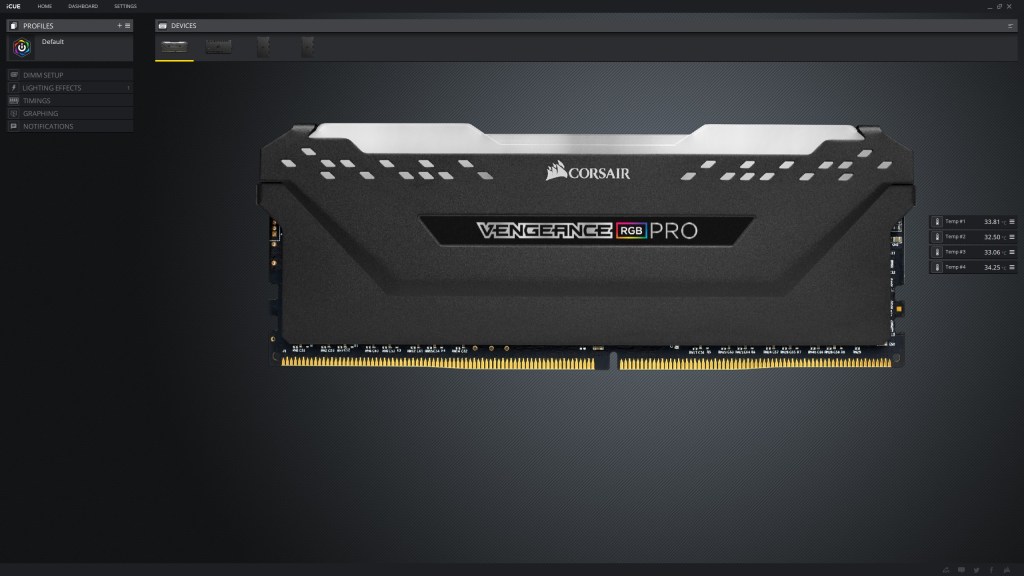
- 4 x Corsair Vengeance RGB PRO 16 GB,
- Corsair HX Series HX750 power supply,
- Additional 6 CORSAIR iCUE QL120 RGB fans,
- Corsair MP600 Force Series 1TB NVMe,
- Intel Core i9-9900K CPU
- Gigabyte AORUS Z390 PRO Motherboard
- Nvidia 2080 Founders Edition (From previous computer)
- Microsoft Windows 10 Pro 64bit
- Frameless Perspex® Silver Acrylic Mirror 250mm x 150mm
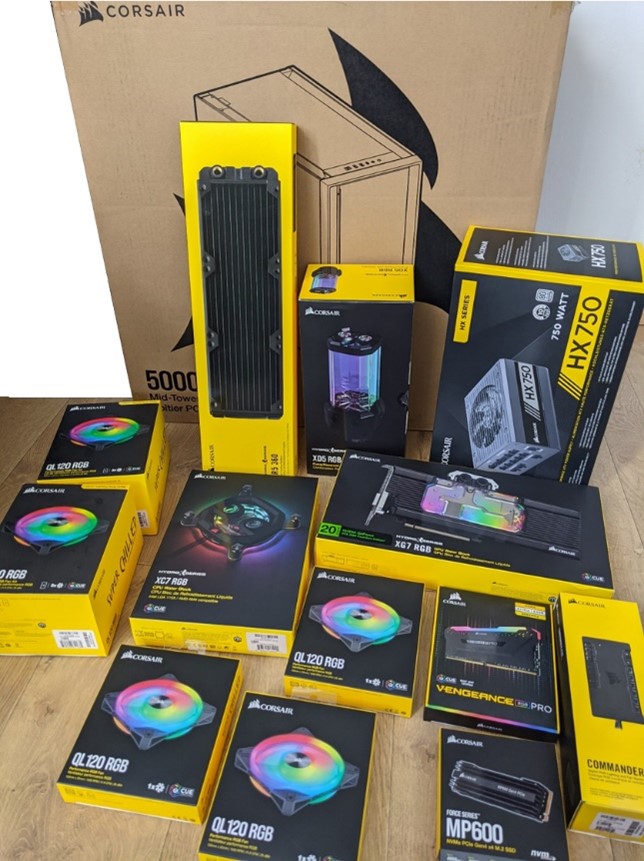
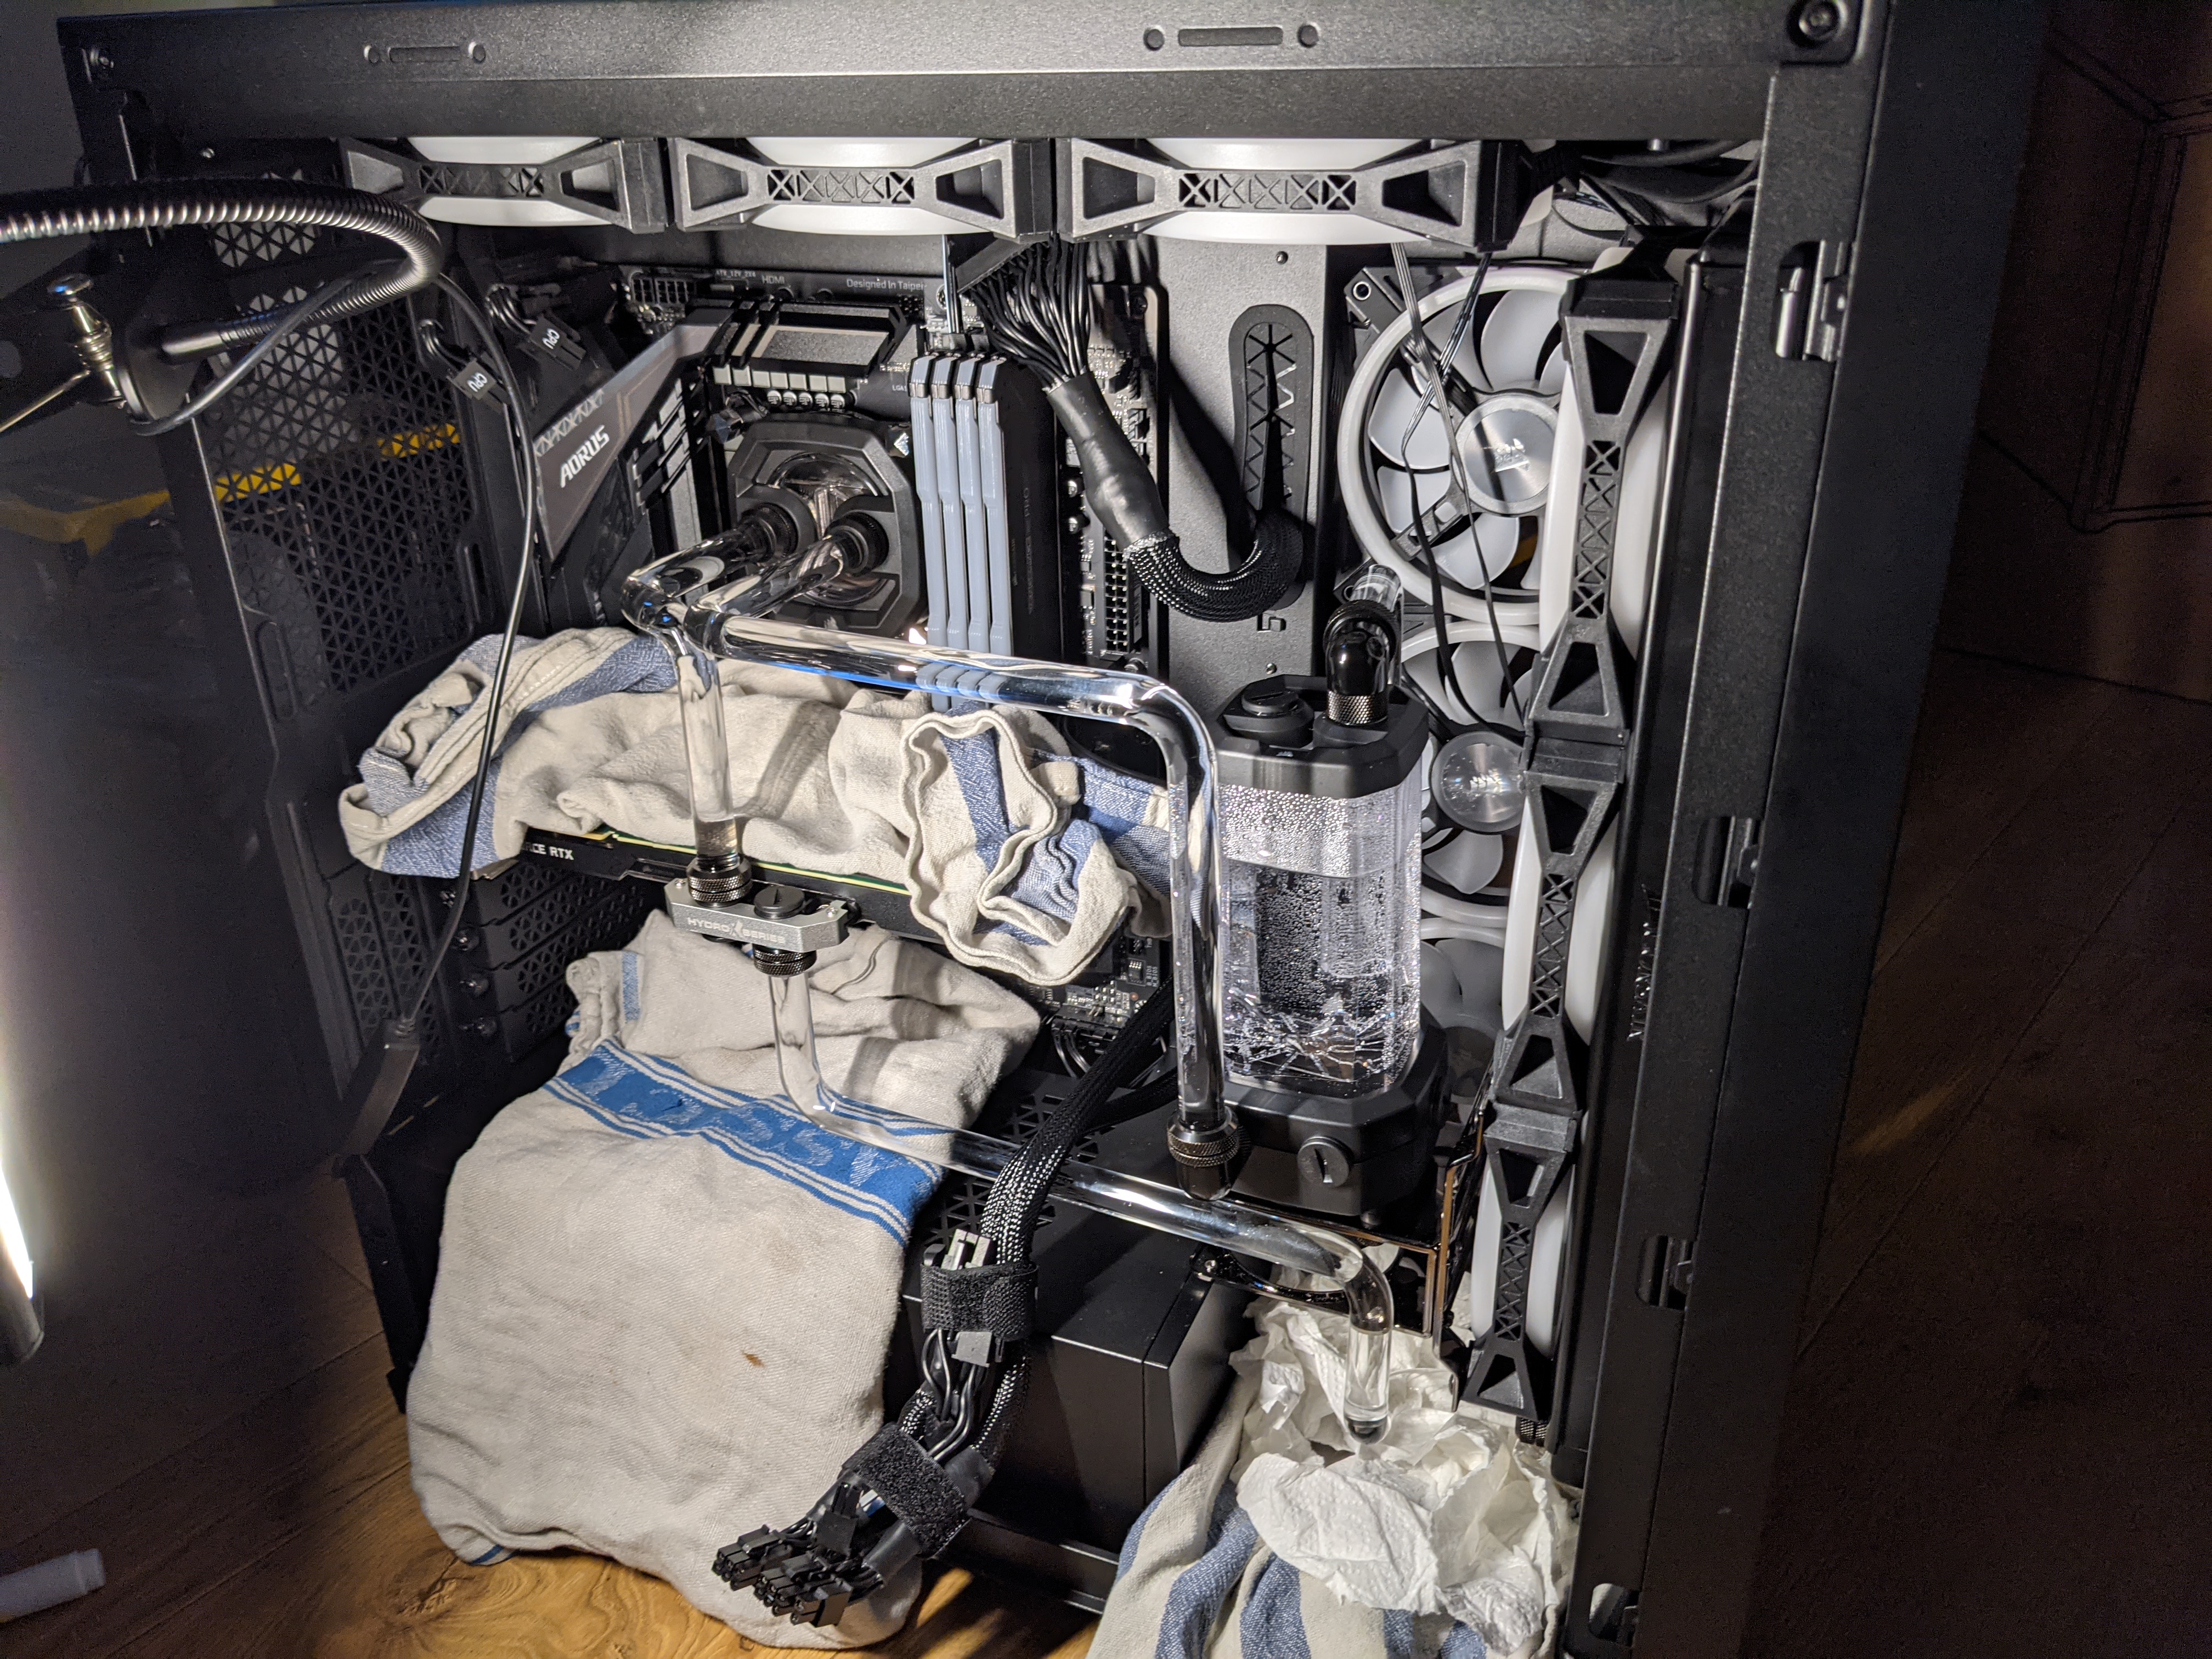
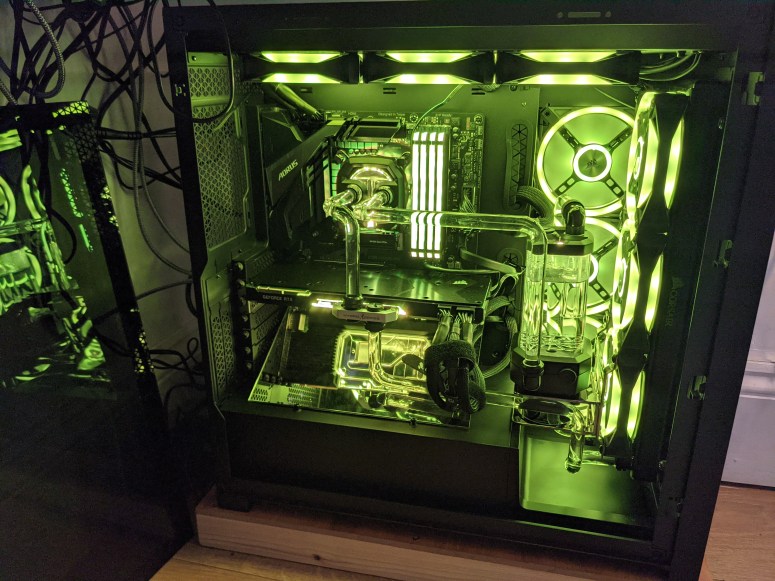
So, I may have gone a little corsair crazy but I have always wanted to do a full liquid cooled setup. When amazon knocked £100+ off the price of the iCUE XH305i RGB Custom Cooling Kit I jumped in. The XG7 (2080 founders edition) also had halved in price which I believed was a key component so that got added too. Problem was when I started looking into things, I would need a new case. My old Corsair 550D Silent would not fit the liquid cooling or radiators in ☹ oh well kids were begging an upgrade. In for a penny! so then I end up with a new case, MOBO, CPU, RAM, NVMe & PSU. The only original component being my GFX card. It appears between Brexit and other shortages; components have gone up in price and are harder to find. I ended up going to several places to get everything.
CPU & MOBO
CPU & MOBO: case was lovely. I removed all the removable bits mounted the motherboard (AORUS Z390 PRO). One issue I found was the provided screws worked but it felt like they had a different gauge to the motherboard mounting pillars. That aside it fitted perfectly and securely. XC7 install was a breeze no need to apply thermal paste, it already had it. I had removed the door on the rear so fitting the mounting bracket was no problem. Having watched a bunch of youtubers I made sure I kept the RGB cable tight to the MOBO and just hanging over the top to connect to the commander pro on the back plane to keep it out of sight as much as possible.
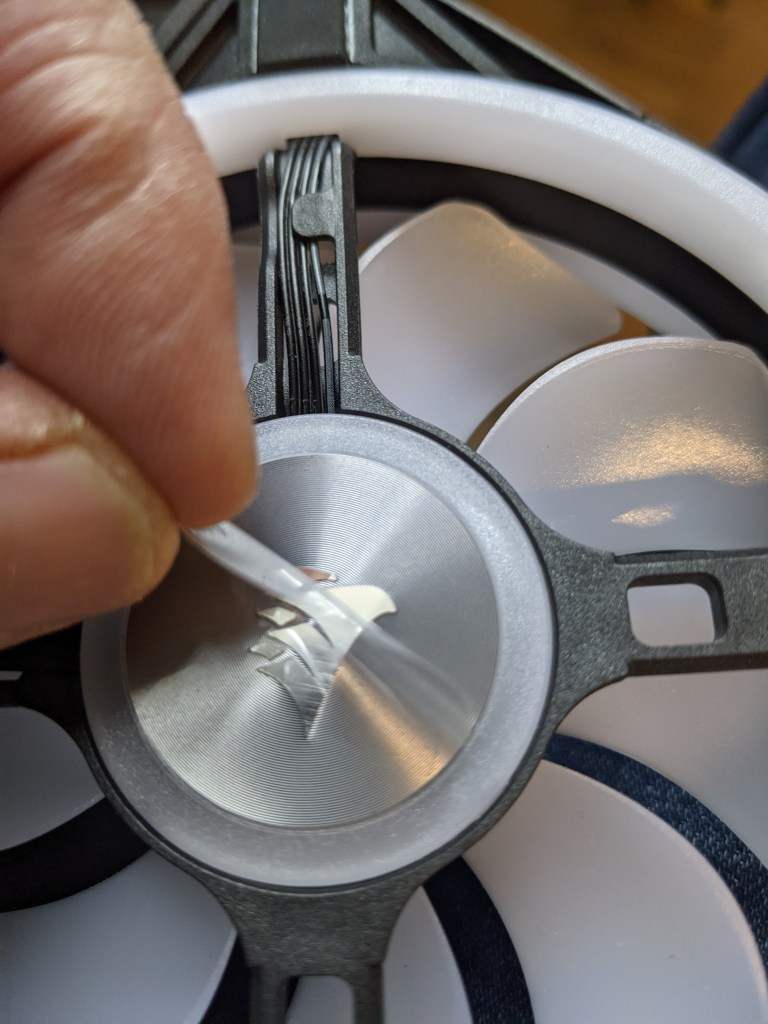
TOP TIP: Remove the little protective plastic off the fans (front and back) before you mount them 😉 it takes a while to unmount them afterwards, peal off and remount “apparently!”
GFX card
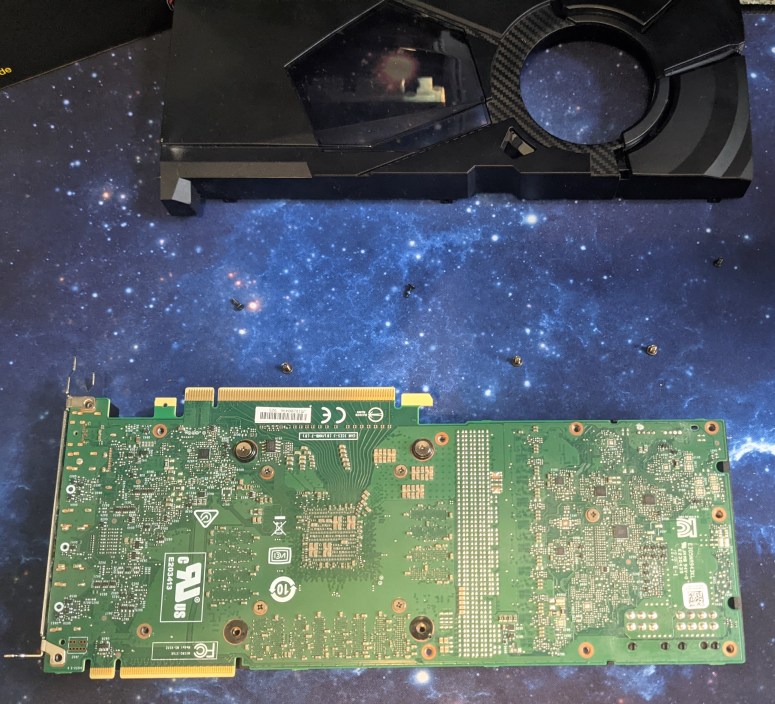
Nvidia RTX 2080 founders edition, install was straight forward. When removing the stock shroud and heat sink I did have a couple of screws that where a bit “meh” but patience and persistence removed them without damaging card or shroud (just in case I ever need it back on). The final bit of removing the shroud was a bit nerve-racking as I thought I had left a screw in or something as it didn’t want to come off but did eventually. Probably the thermal pads where a bit sticky. The corsair XG7 installed easily had its own thermal paste and pads so the old ones where carefully removed, placed on the old shroud and GPU cleaned with alcohol.

Cabling
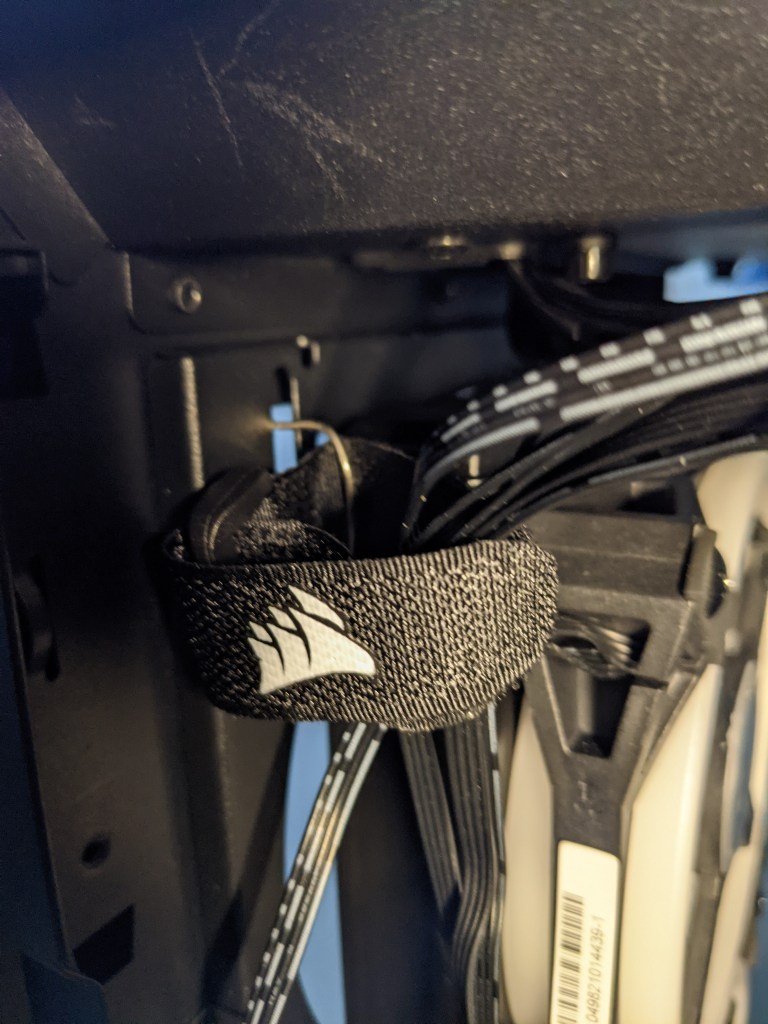
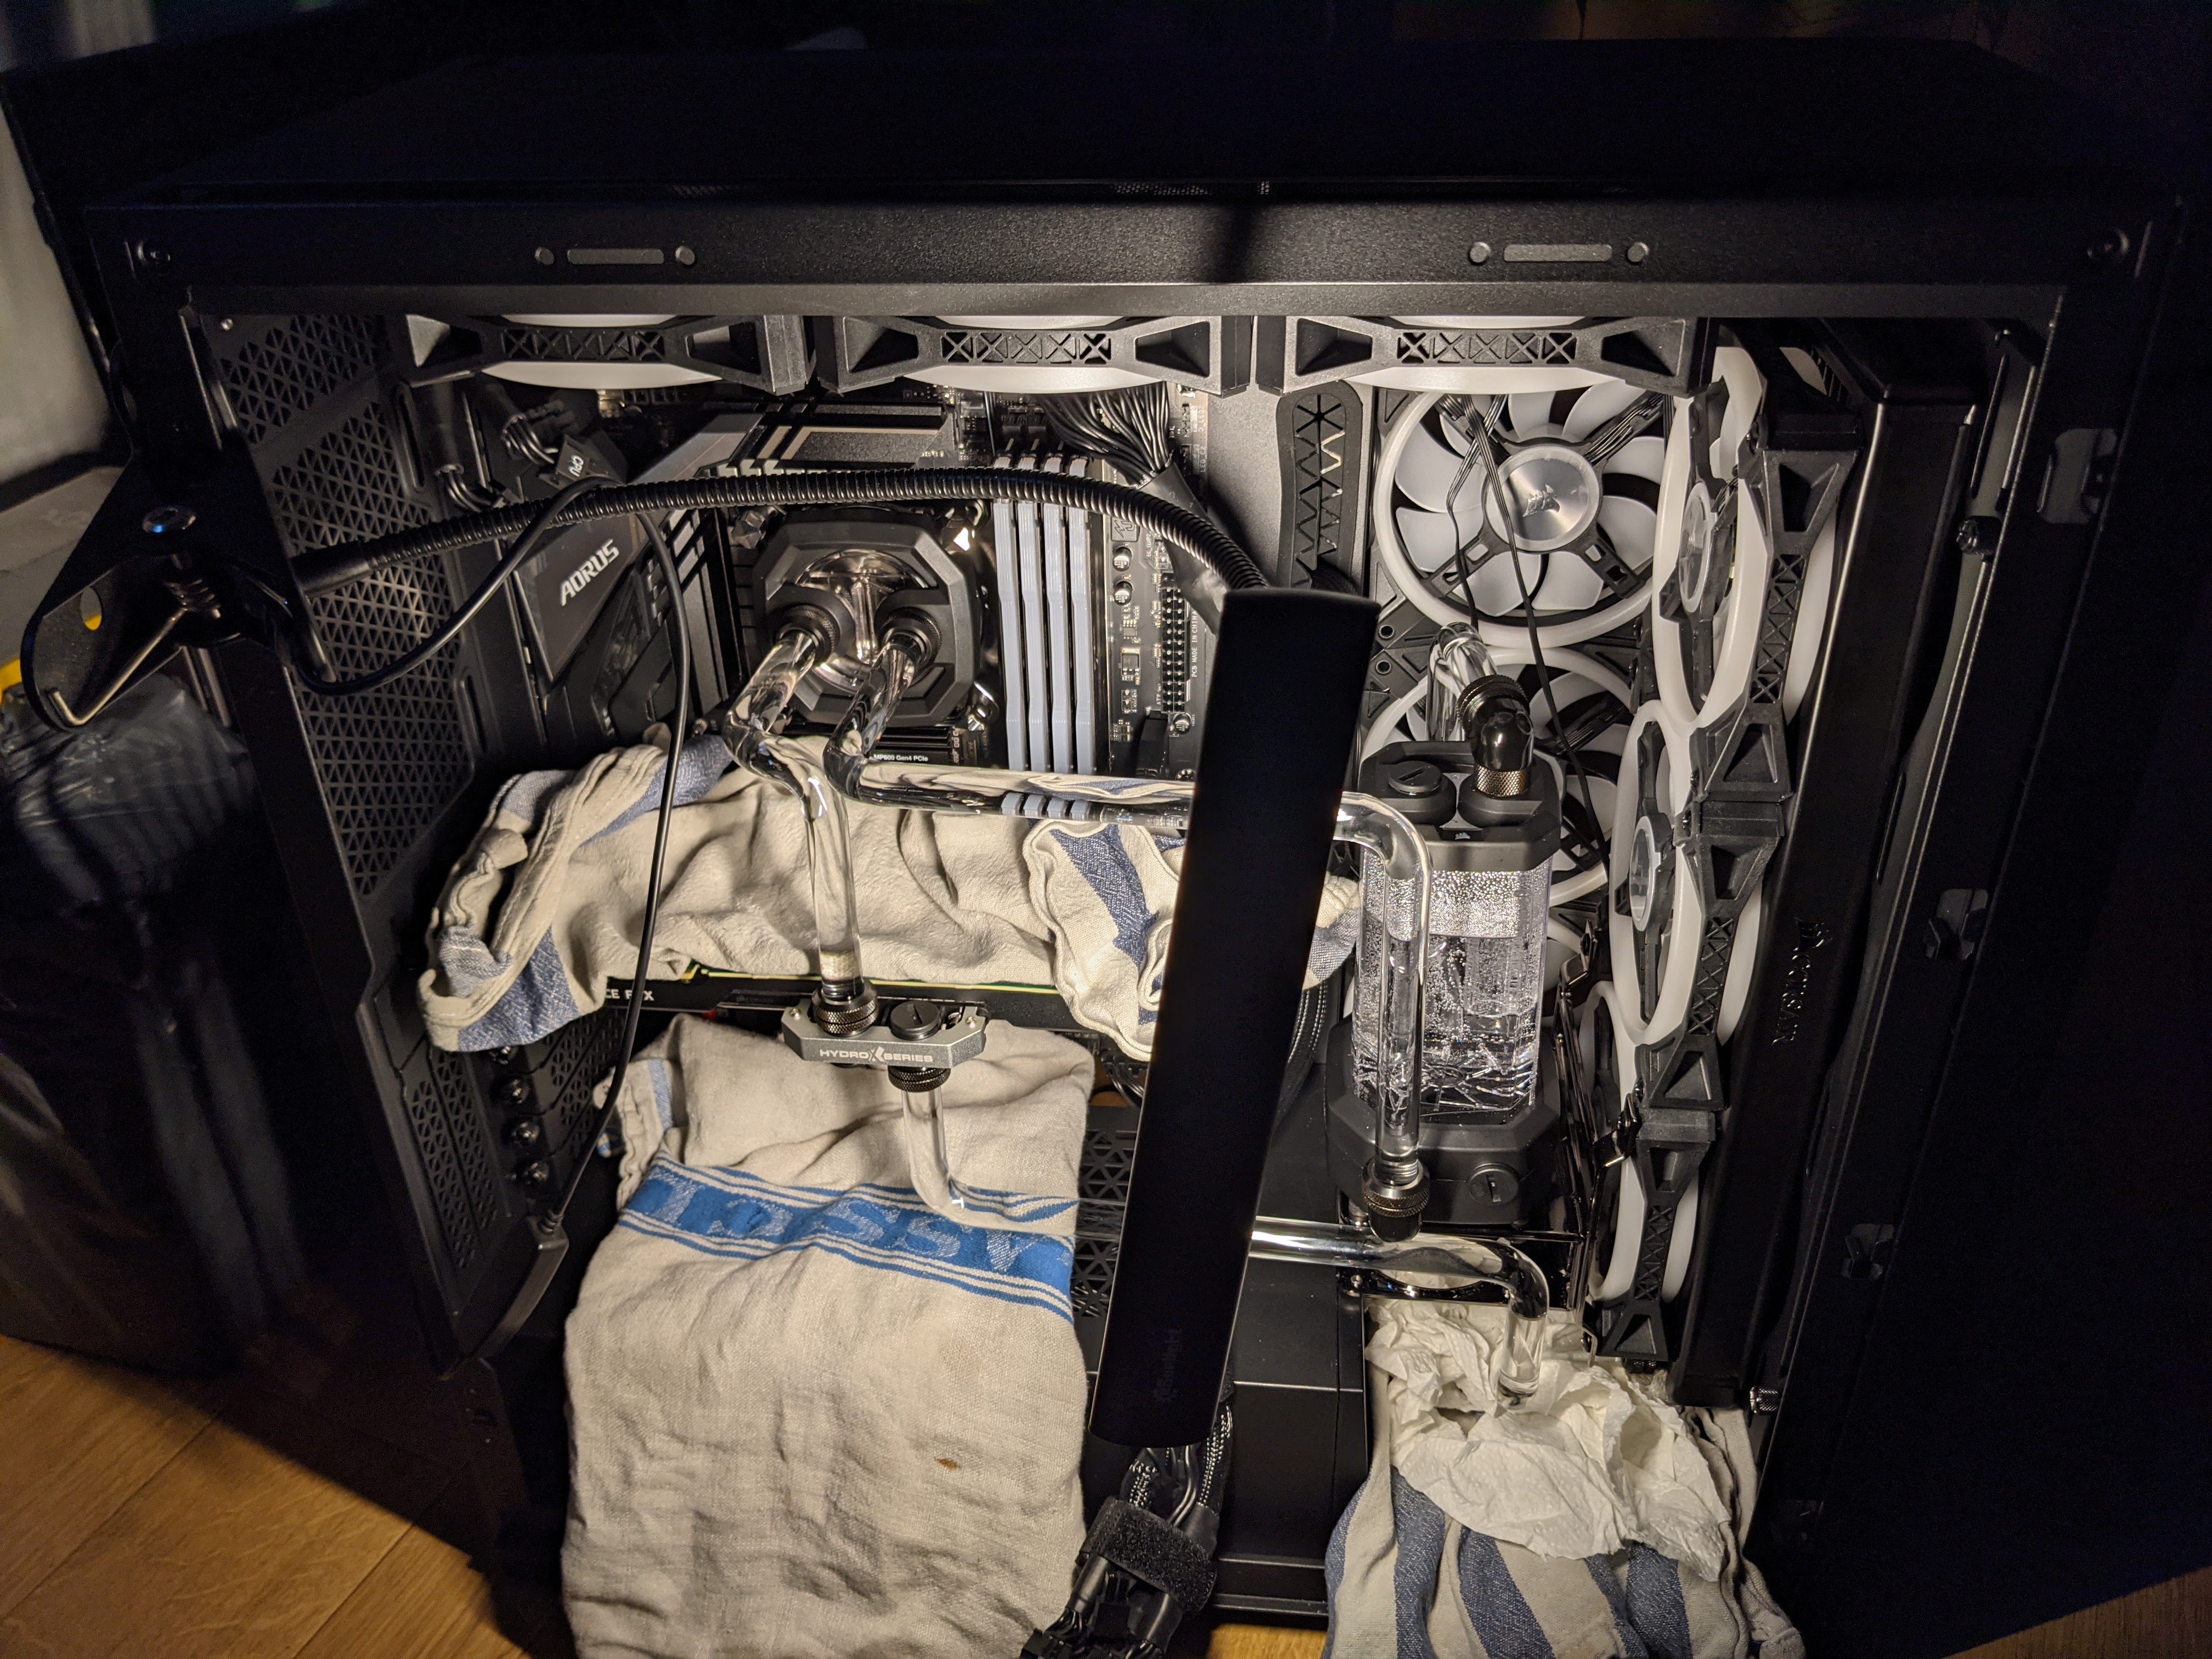
With the fans the fans pump radiator and PSU in there where a lot of cables to manage and stash away but the case has lots of tie down place and a bunch of Velcro straps. I did cable tie and number the three sets of three fans: RGB cables and PWM cables just to keep them together. The final result with 3 temperature sensors in and SSD all gets hidden away nicely behind the door and when done well allows the magnet to hold the door shut. I do have an issue with the supplied PSU cables. They are either too long, too short & inflexible. My previous corsair PSU cables where a lot more flexible.
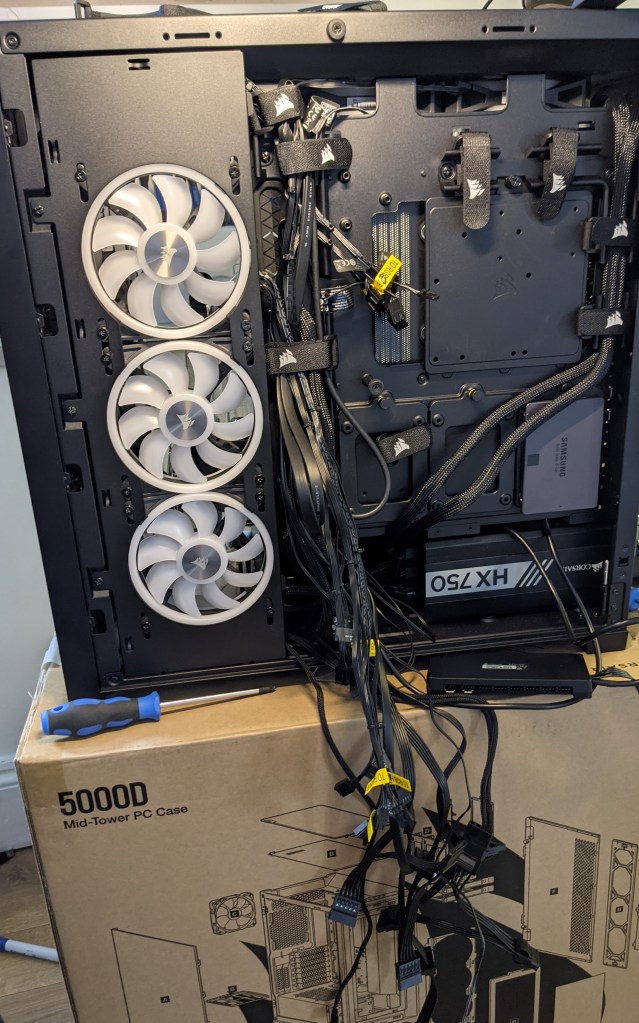
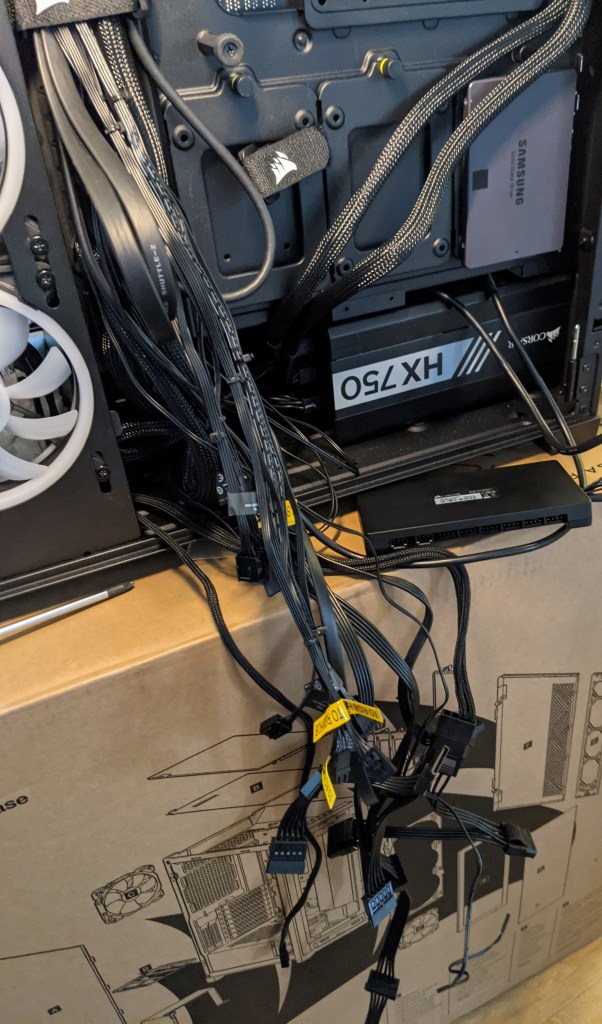

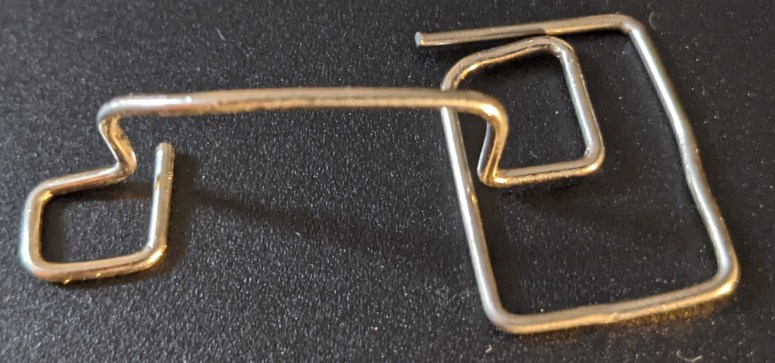
I did make a bespoke mount (from a paperclip) to keep the front fan cables hidden away at the top of the case. It would be good to have something in the case for this.


Pipe Install and Bending
OK this was the bit I had never done before. I watched hours of footage on how to do it.
Everyone had a normal sized heat gun and recommended 30 seconds ‘ish’ and 100mm above the heat source.
I had a small hobby heat gun that took 3-5 minutes and pipe (Not fingers!) had to be held about 30mm above the heat source. It took me 12 hours to bend 4 pipes. They are not perfect, but they work. When I next upgrade I will try and do a better job 😊 I tried being all mathematical about it but ended up doing it all by eye and hand. I did not use the provided bendy tool because by the time I managed to heat a pipe and get it into the tool it had already started cooling. I used the provided saw, deburrer and silicon insert.

TOP TIP: get a full sized heat gun!


Testing
Corsair provide a PSU terminator meaning you can run the pump and nothing else while filling and cycling the liquid around the system.
TOP TIP: After waiting a while I remembered the tip to remove the PWM from the commander pro so the pump would go to 100% and actually fill the system. 😉
Houston we have ….. a leak
Thankfully it was just me tightening one of the bungs, on the GFX card, too hard that had deformed the washer. Once fixed no more leak. 🙂
I used the provided liquid and filler bottle then turned it on. I continued to fill to about half the 1 litre bottle. I gentle tipped the computer in a few directions to help move the air out of the system. I left it to run over night and on for 24 hours which cleared almost every bubble.
TOP TIP: get yourself a USB LED clip on lamp if, like me, you have a dark room to work in. 🙂
Software
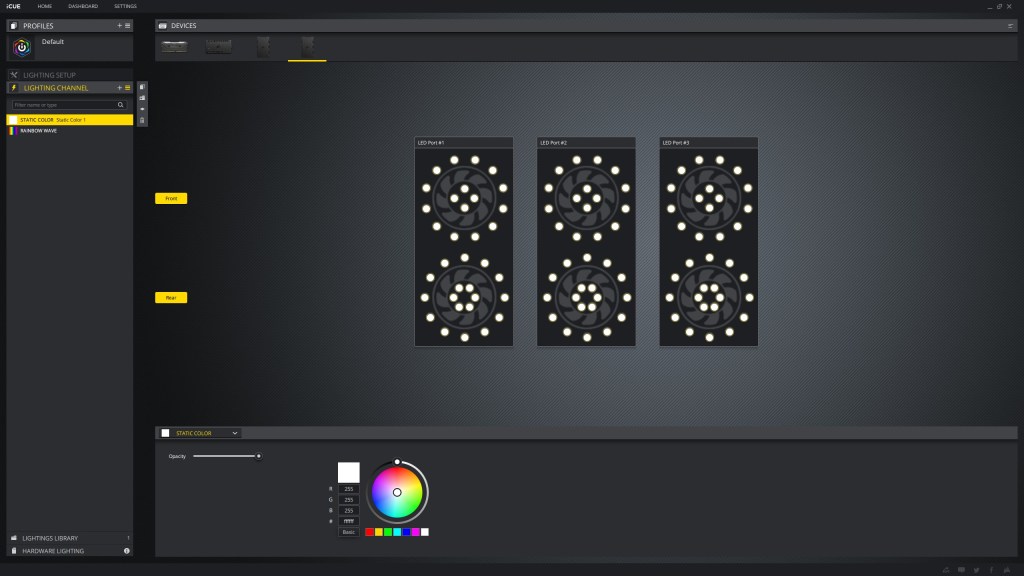
Brand new SSD and Fresh copy of Windows 10 installed in less than 30 minutes. Updates took about 4 hours and I had to force some!. ICUE installed did something weird, got uninstalled and re-installed. I have a lot more to do in ICUE and through Corsair Forums, Youtube, Reddit I am slowly working through RGB setup and fan performance issues that I am running into.
TOP TIP: Do not use “Quiet” mode as it is not! (You get fan surges)
Set all your fans to “Hydro X Series Fans” by selecting performance selecting “Hydro X Series Fans” and selecting all fans. (Your pump should be plugged into FANS 6 & Water temperature on Commander Pro and Set to “Hydro X Series Pumps” in ICUE)
TOP TIP: Rename your temperature Sensors and FANS to reflect what they are. It makes it much easier to know what is occurring 🙂

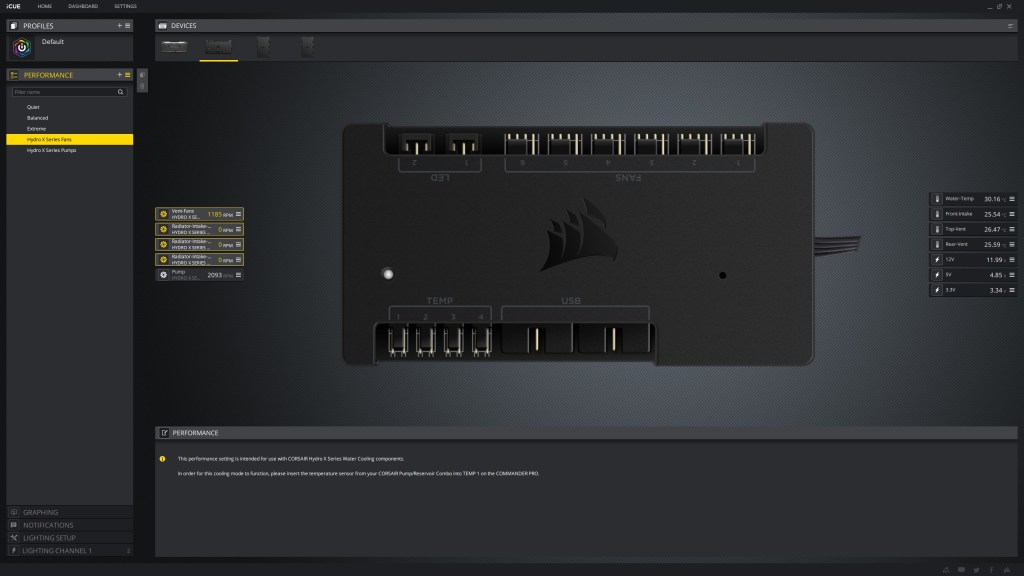
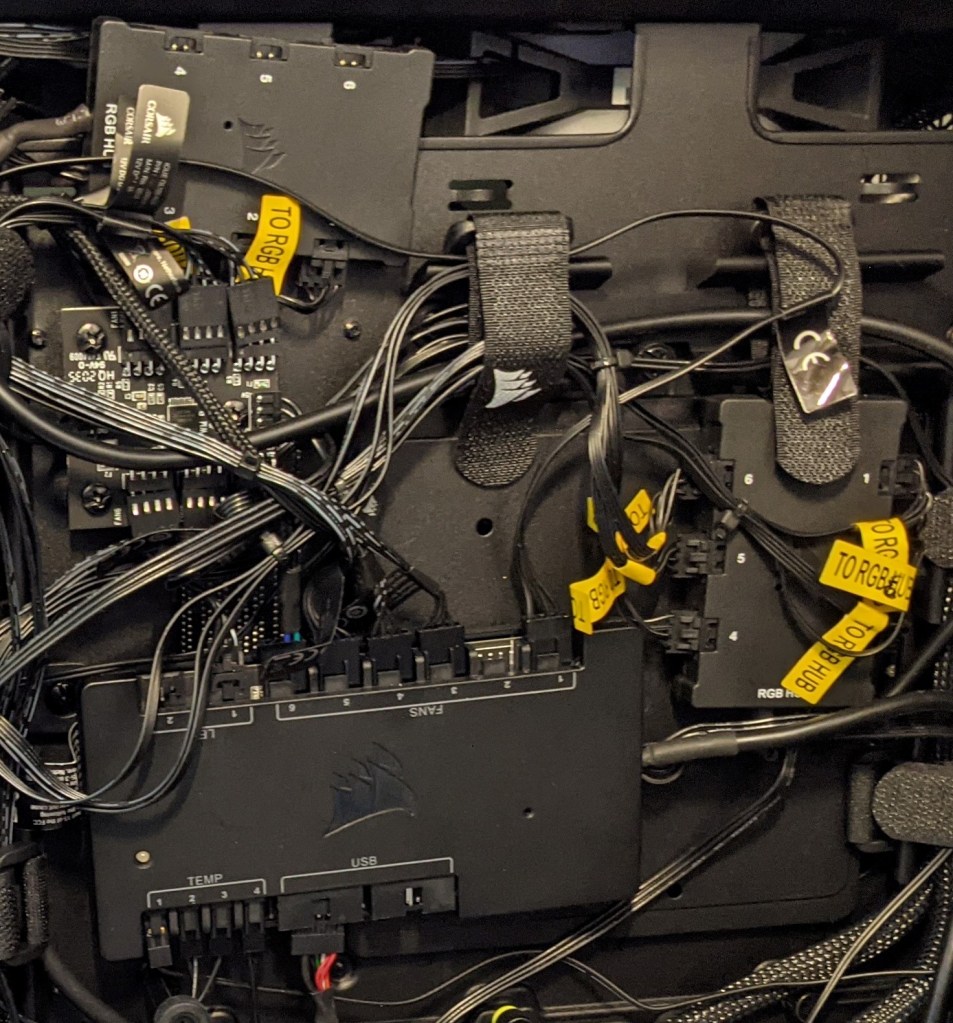

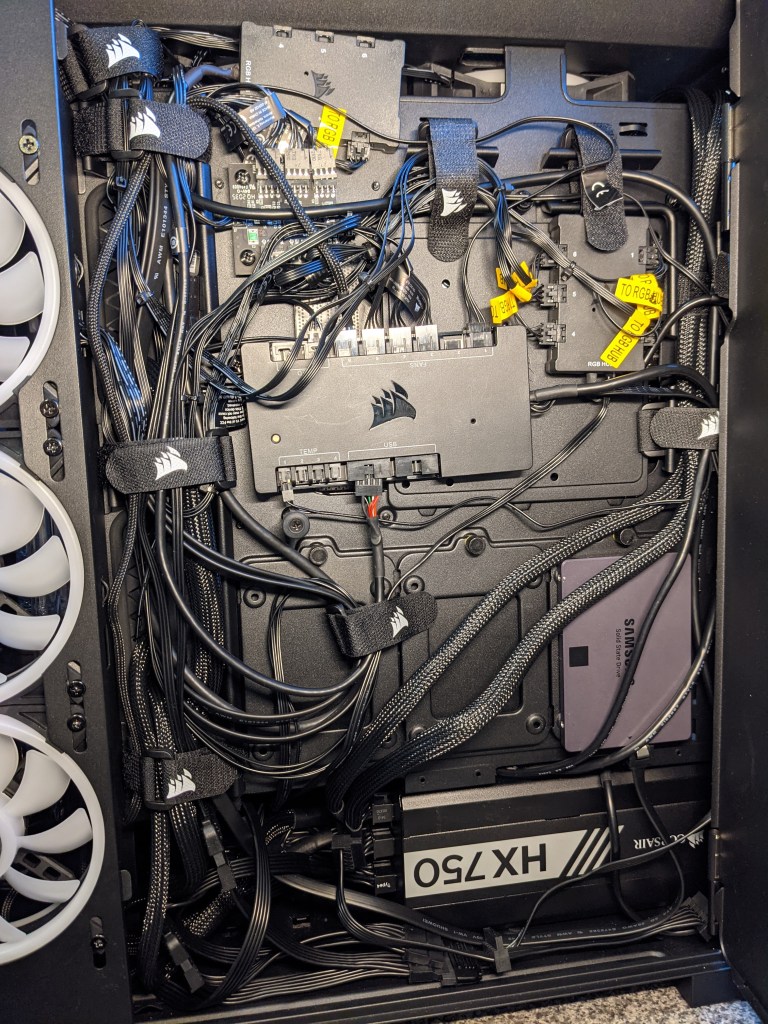
My current fan control via ICUE (after a couple of hiccups) uses: the PWM repeater (2 on pic) for the 3 side intake fans and 3 top exhaust fans. The 3 radiator intake fans are plugged directly into the Commander Pro (4 on pic). The XD5 (Water Pump/Reservoir) is plugged into Fan 6 on the Commander Pro (4 on pic).
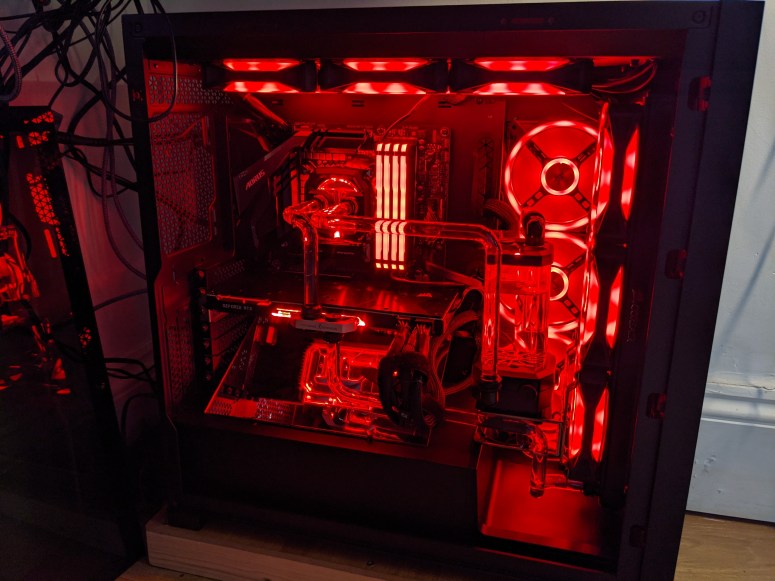
My RGB Control for ICUE uses: first Lighting Node Core (1 on pic) to control the 3 radiator fans RGB and the second Lighting Node Core (3 on pic) to control the 3 side intake fans an 3 top exhaust fans. The XC7 (CPU Block), XG7 (GPU Block) and XD5 (Water Pump/Reservoir) are daisy changed into LED 1 on the Commander Pro (4 on pic).
Conclusion
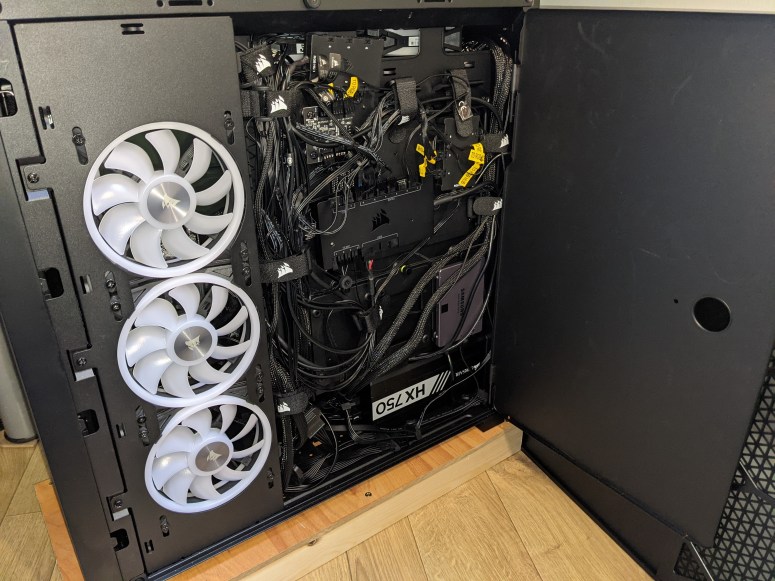
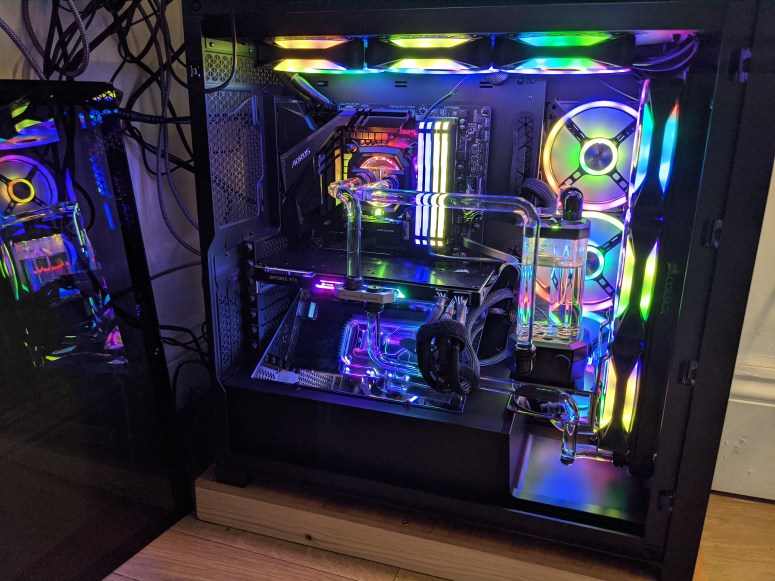
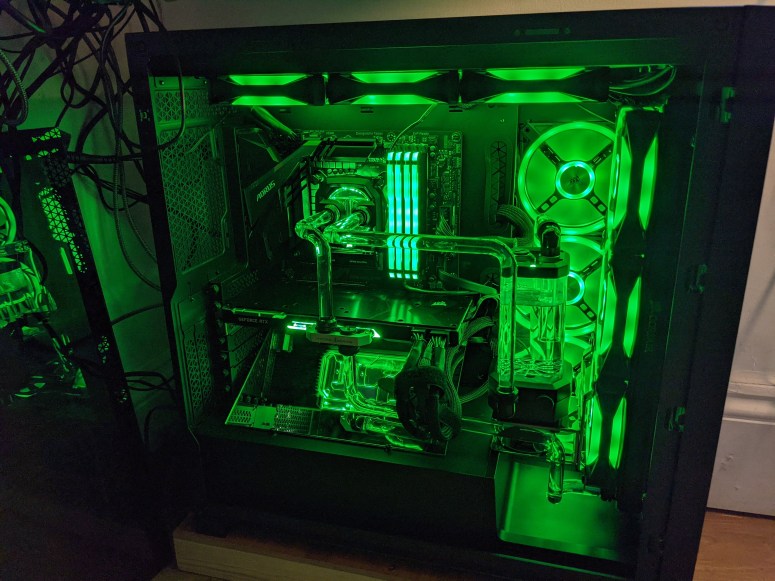
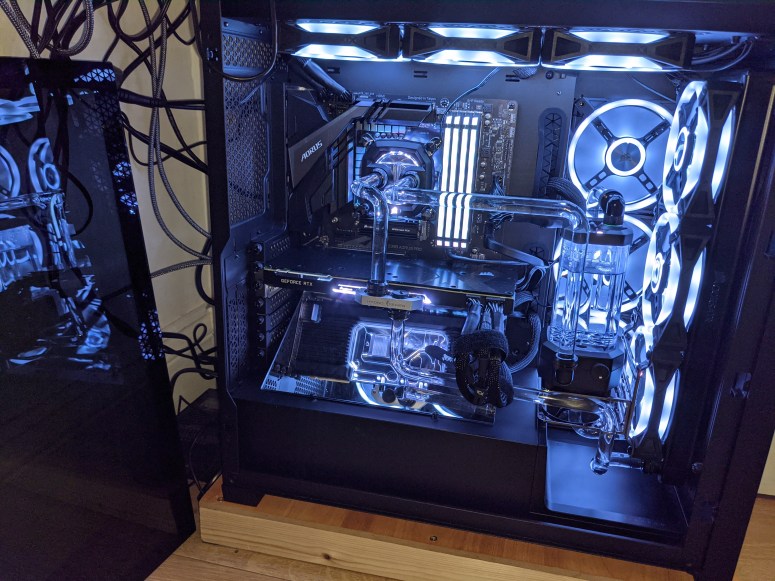
I am really happy with the end product but there are still some area’s to improve.
I was looking to make an almost silent gaming PC and I have yet to achieve this. I hope it is just software and my config and not missing hardware.
The software gives a lot of functionality but restricts me too. I would like it to be a bit more open in the GUI before I start playing with the config files. I want an “Advanced” Option that allows me to add and remove functionality. I know there are tools to allow syncing across multiple vendors but I only want one program for all my RGB and Cooling.
Hardware wise I think you will agree it looks great. I need to get some more hard tube and get those bends better. I will leave off doing this until I can get another radiator though (OC time?). I am really not happy with the GPU and motherboard cables but there appears to be no “white” Corsair Premium cables to be had. I am looking at getting an LED strip to run along the bottom front as it missing some colour there. Oh yer and I am having to change my keyboard and mouse to Corsair so I can sync all the lighting effects :-D.
TOP TIP: if you cant get or afford the Right-angle PCIe bracket get your self a cheap Perspex mirror so you can see the GFX Card LEDs and flow propeller.


Outstanding questions
- For Corsair and Community
- Could the motherboard be dropped 10mm to allow just a little more room for top fan and radiators.
- Could the side fans be moved 30mm back from the front of the case so you could see them better?
- Have I got the correct combination of PWM Repeater, Commander Pro, and lighting Nodes?
- Why do my 3 side intake and 3 top exhaust FANs never go to zero RPM yet the radiator fans do? (Is it the PWM repeater?)
- For Me:
- Should I add one more Fan to the rear exhaust port or is 9 fans too many?
- OR
- Should I put the side panel back, leave two of the fans there and more one to rear.
Left Overs
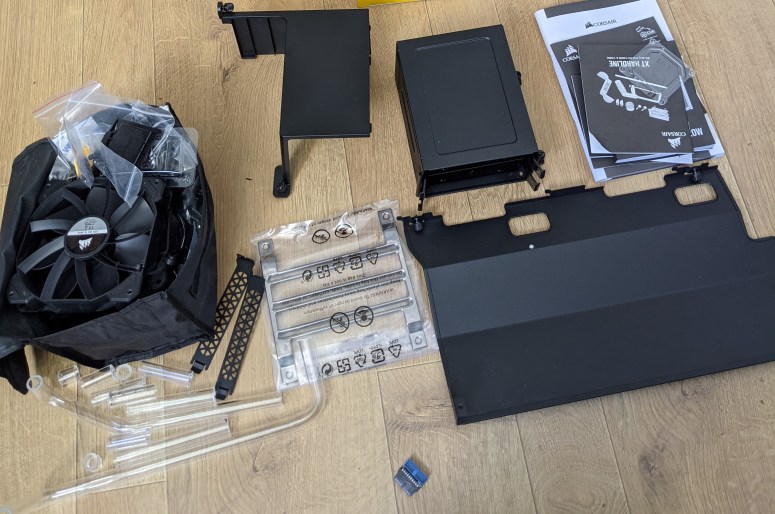
It wasn’t too bad but still a lot of packaging that could have been cardboard or some other easier to recycle materials. I liked the little bag that came with the PSU. keeps all the bits together.

Parts List
| Component | Cost | Vendor | Make |
|---|---|---|---|
| Corsair MP600 Force Series, 1 TB High-speed Gen 4 PCIe x4, NVMe M.2 SSDent | £158.99 | Amazon | Corsair |
| Windows 10 Professional 64 bit – USB Flash Drive – English – 1 PC | £99.00 | Amazon | Microsoft |
| Corsair Vengeance RGB PRO 64 GB (4 x 16 GB) DDR4 2666 MHz C16 XMP 2.0 Enthusiast RGB LED Illuminated Memory Kit – Black | £321.06 | Amazon | Corsair |
| Corsair HX Series HX750 750 W 80 Plus Platinum Full Modular 1 x 135 mm Fan ATX Power Supply Unit – Black | £147.95 | Amazon | Corsair |
| Corsair Hydro X Series, iCUE XH305i RGB Custom Cooling Kit (XC7 RGB (115X/AM4), XD5 Pump/Reservoir Combo, XL5 Coolant, XR5 Radiator, 3 x QL120 RGB Fans, iCUE Commander PRO, etc.) Black | £415.50 | Amazon | Corsair |
| Intel Core i9-9900K Desktop Processor 8 Cores up to 5.0GHz Unlocked LGA1151 300 Series 95W (BX806849900K) | £333.99 | Amazon | Intel |
| Corsair Hydro X Series, XG7 RGB 20-SERIES GPU Water Block for NVIDIA GeForce RTX 2080 Founders Edition (Precision Construction, Aluminum Backplate, Flow Indicator, Customisable RGB Lighting), Black | £74.67 | Amazon | Corsair |
| 2 x CORSAIR iCUE QL120 RGB 120mm PWM Triple Fan with Lighting Node CORE (2 packs plus the shipping) | £187.94 | ebuyer | Corsair |
| Corsair 5000D Black Mid Tower Tempered Glass PC Gaming Case | £129.98 | Scan | Corsair |
| AORUS Z390 PRO MOTHERBOARD | £111.48 | JohnPye | Gigabyte |
| Frameless Perspex® Silver Acrylic Mirrors / Contemporary Shaped Plastic Mirrors, 250mm x 150mm | £7.32 | ebay | Perspex |
Artwork Update
I have updated the textures on the 3d models:

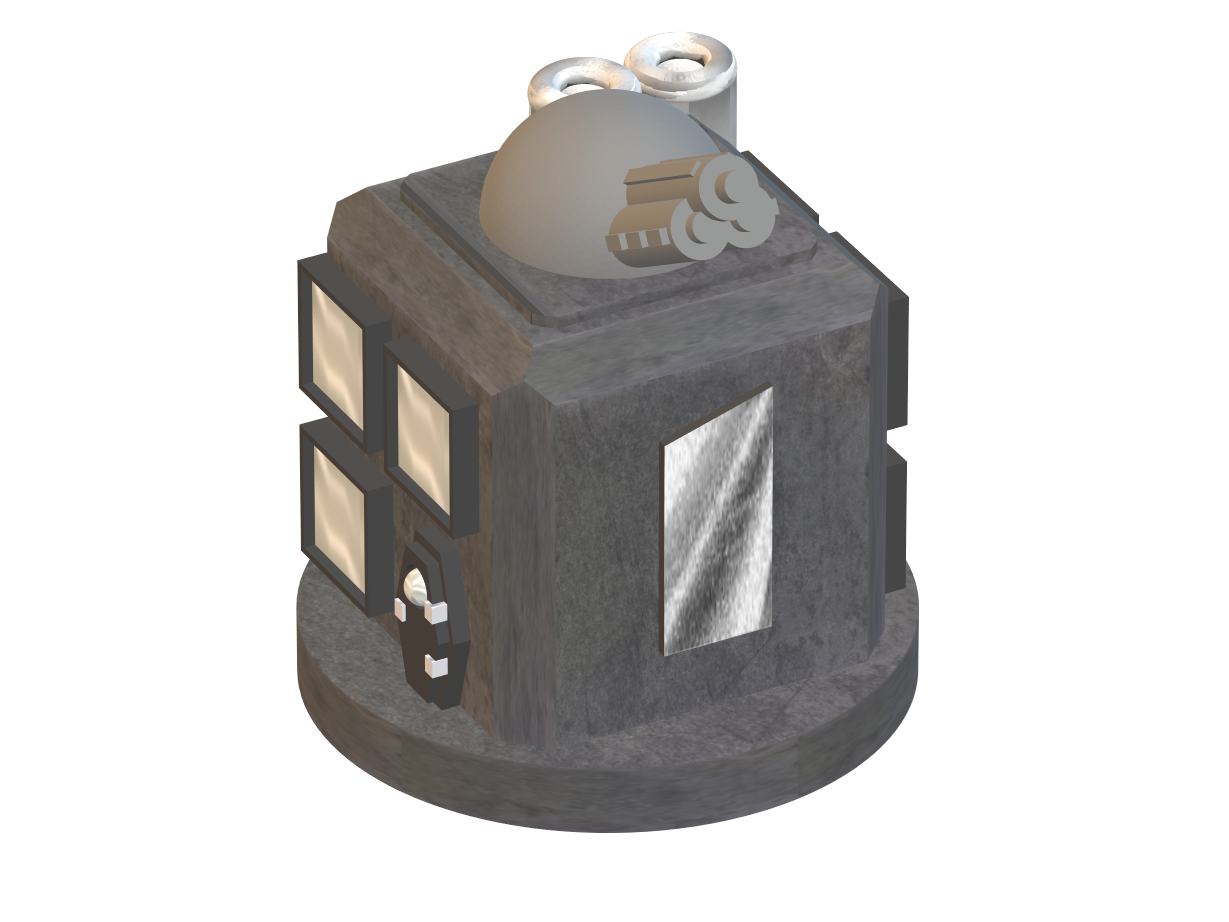
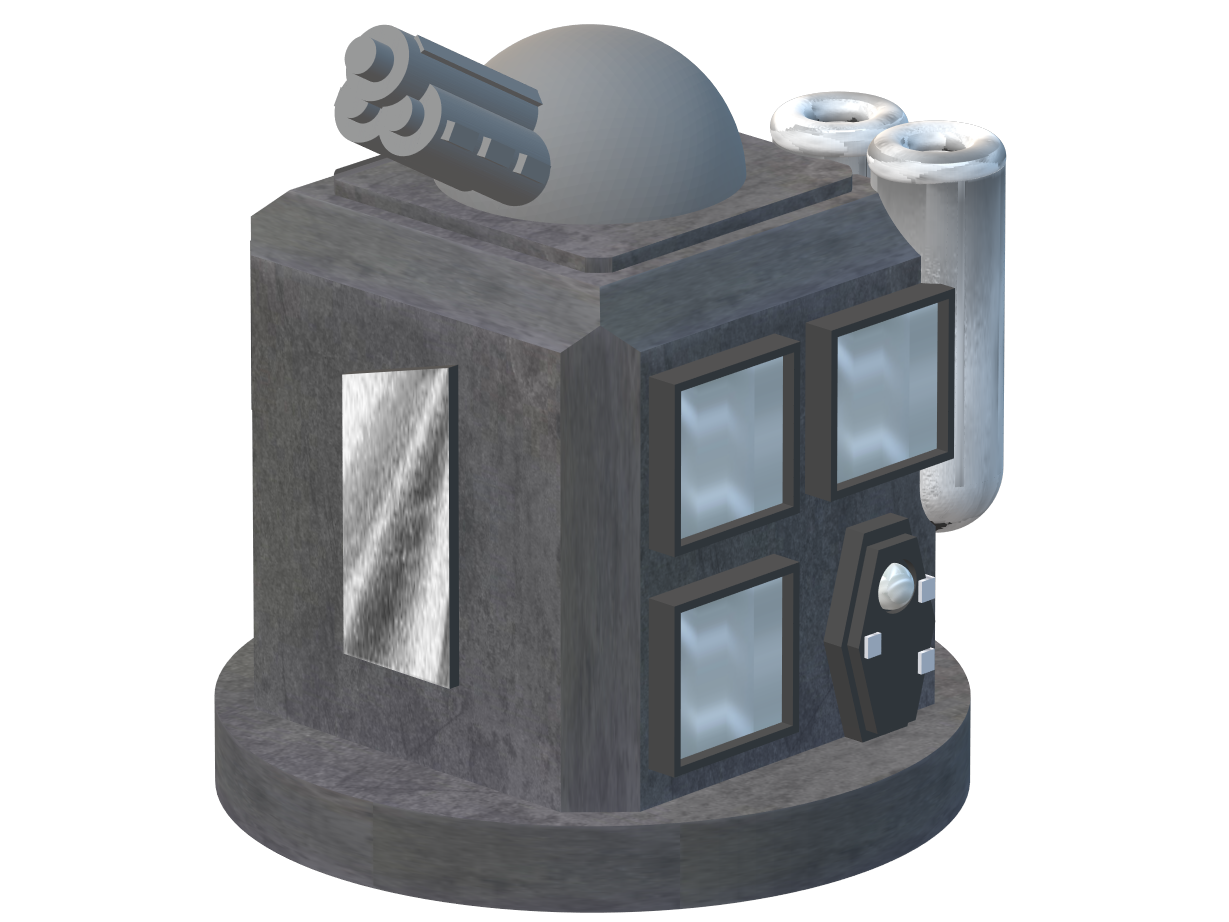
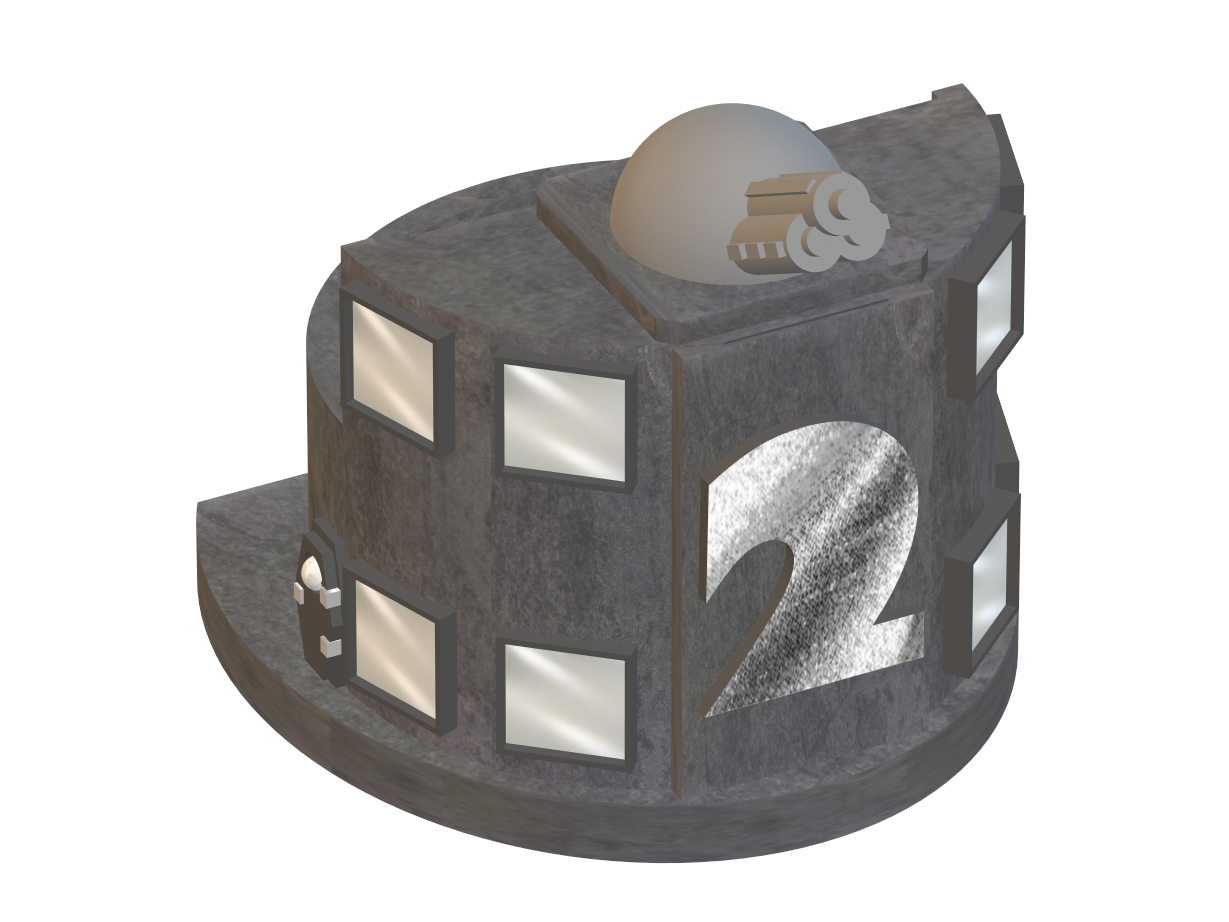

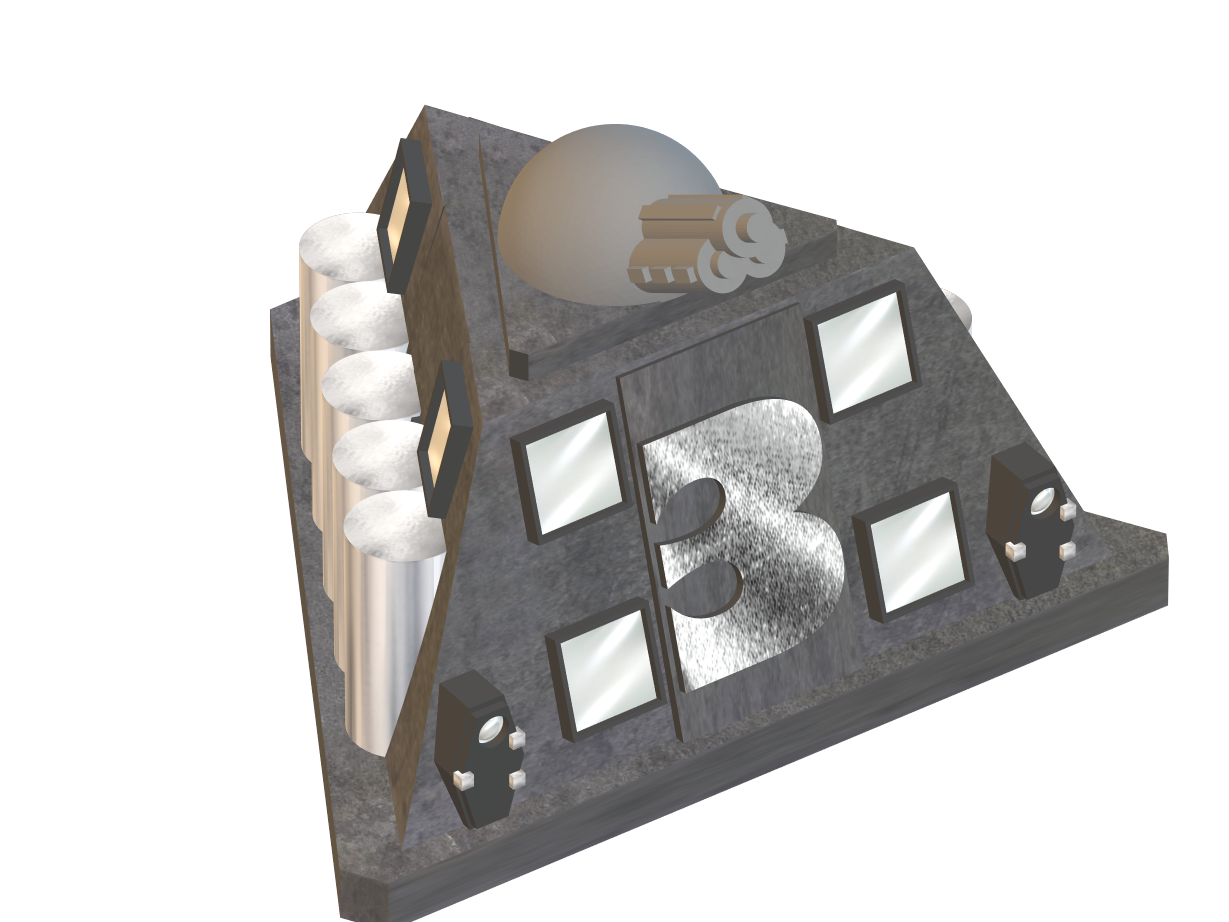

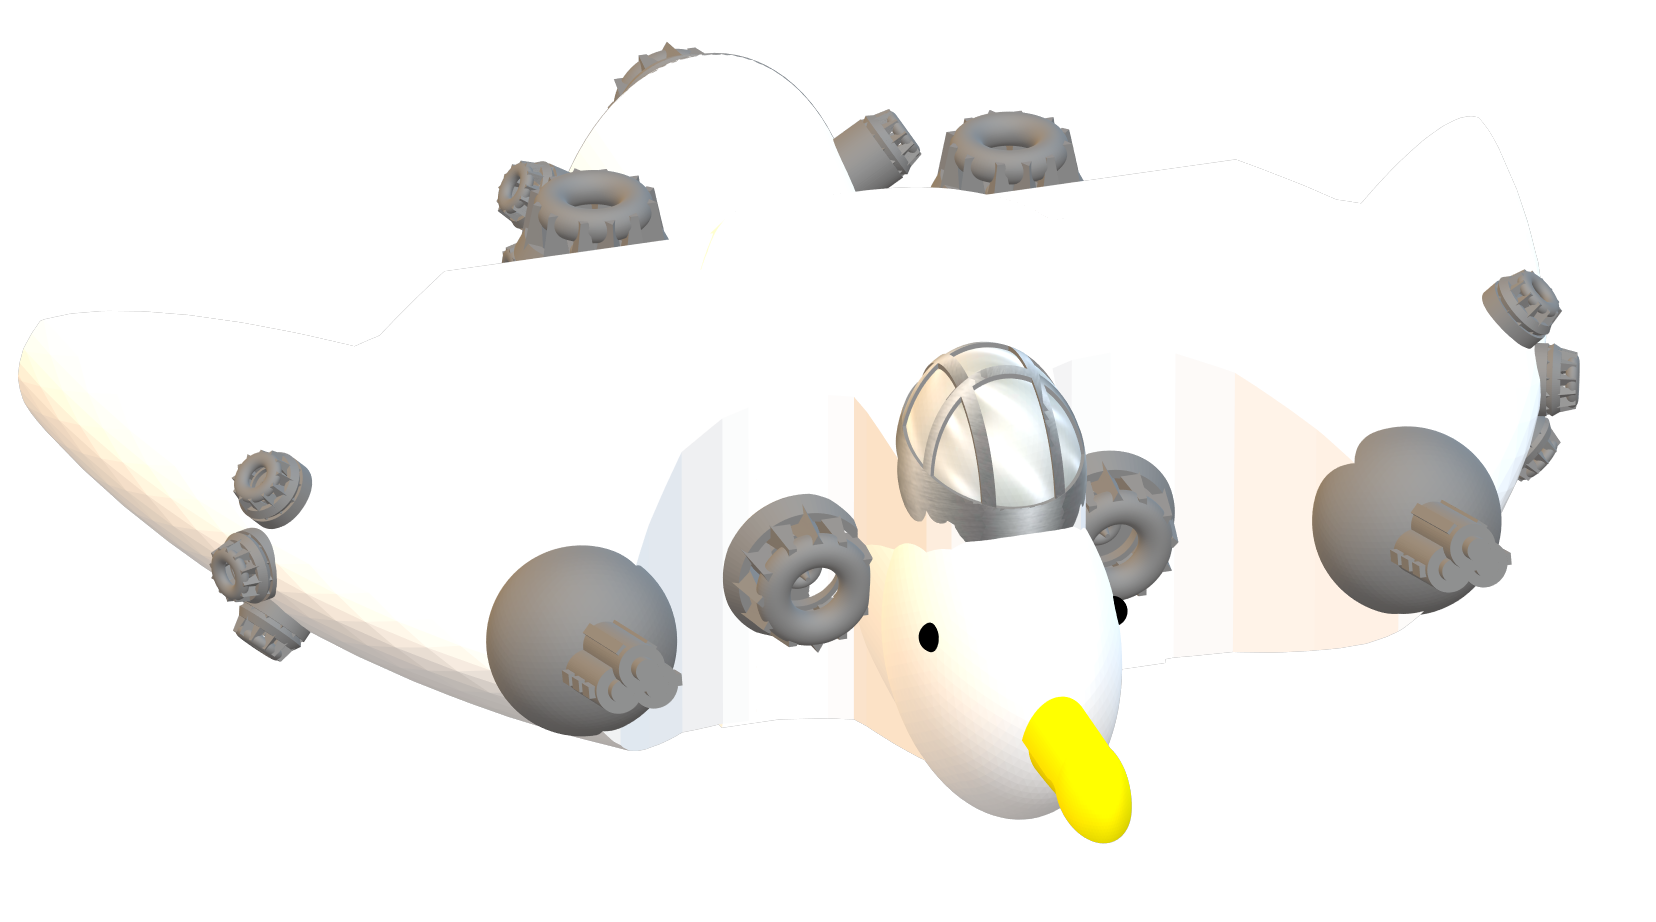


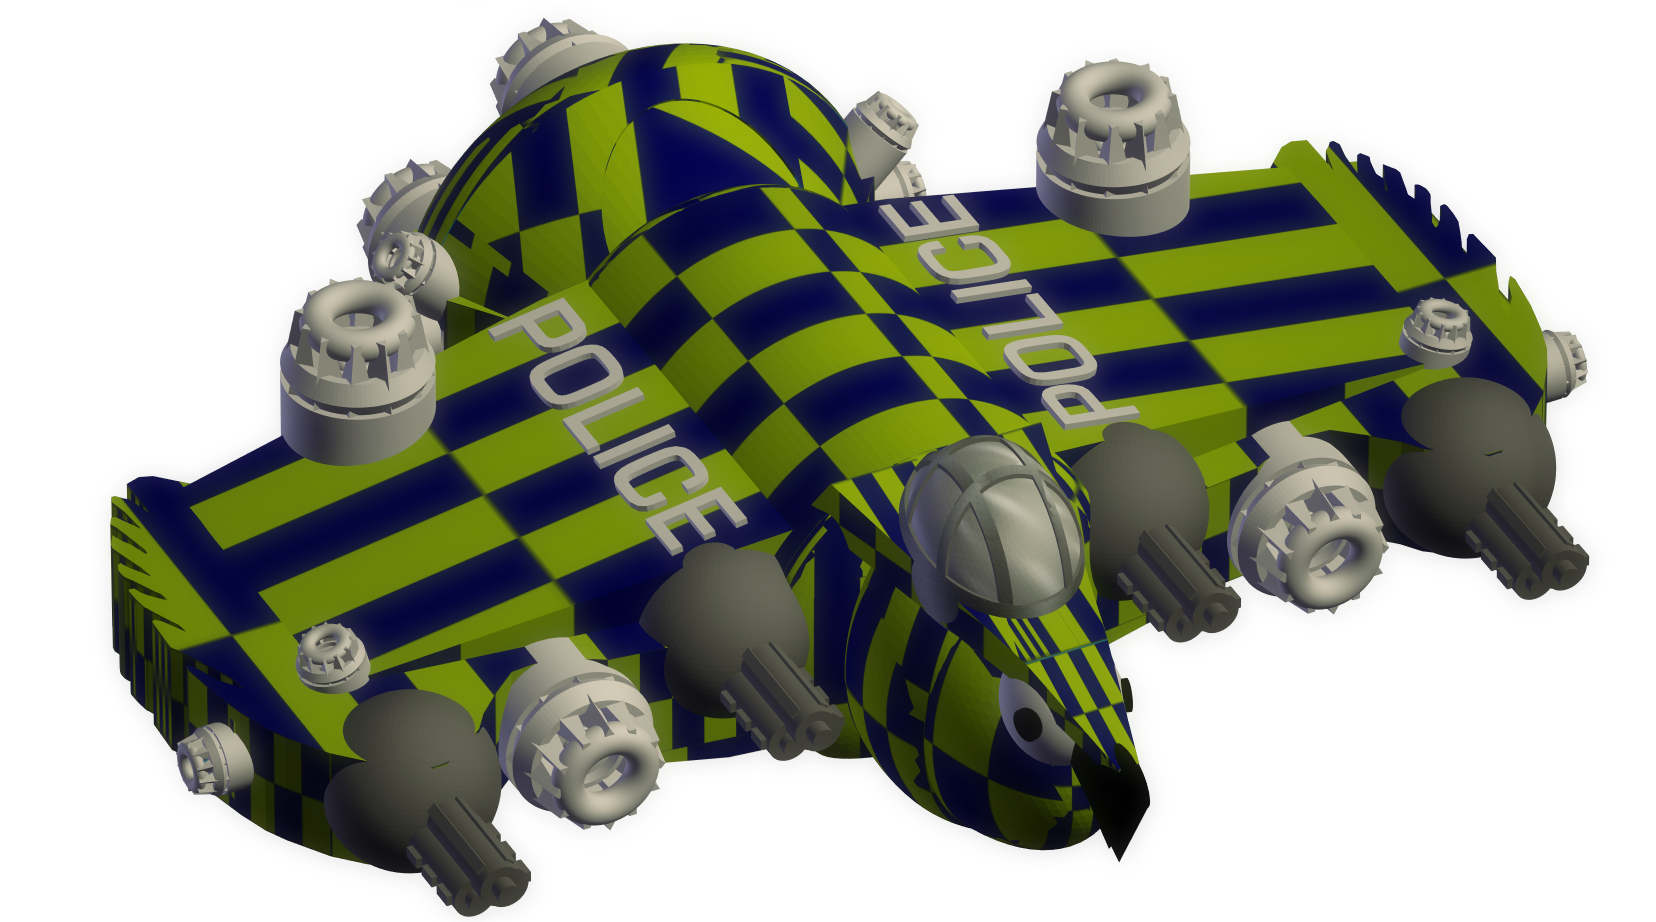
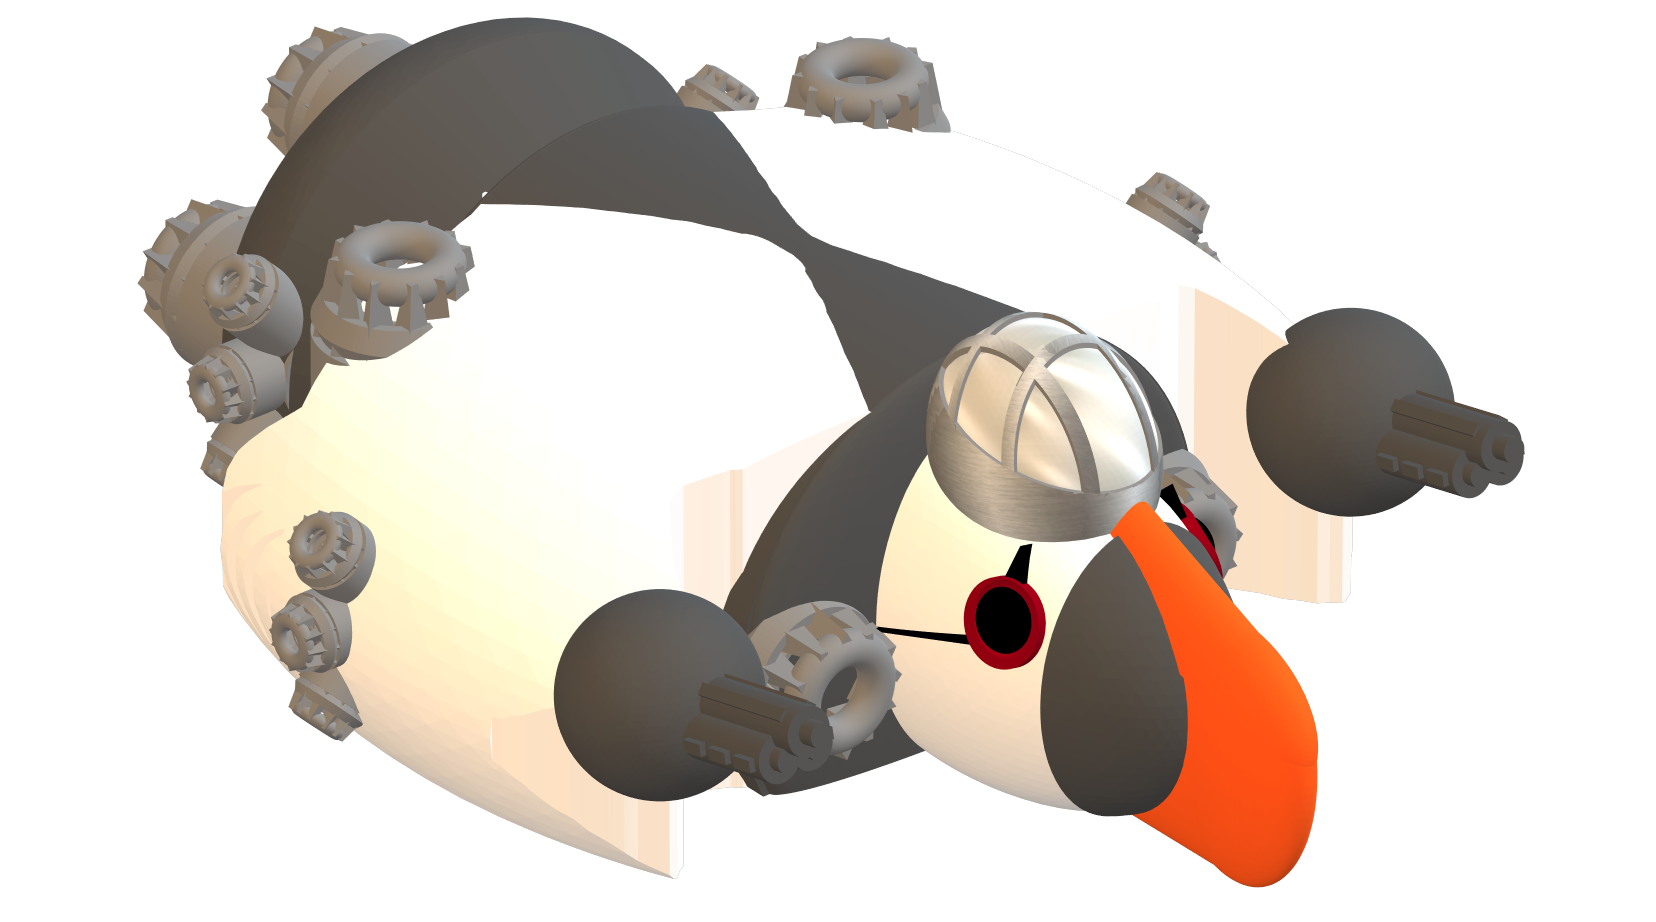
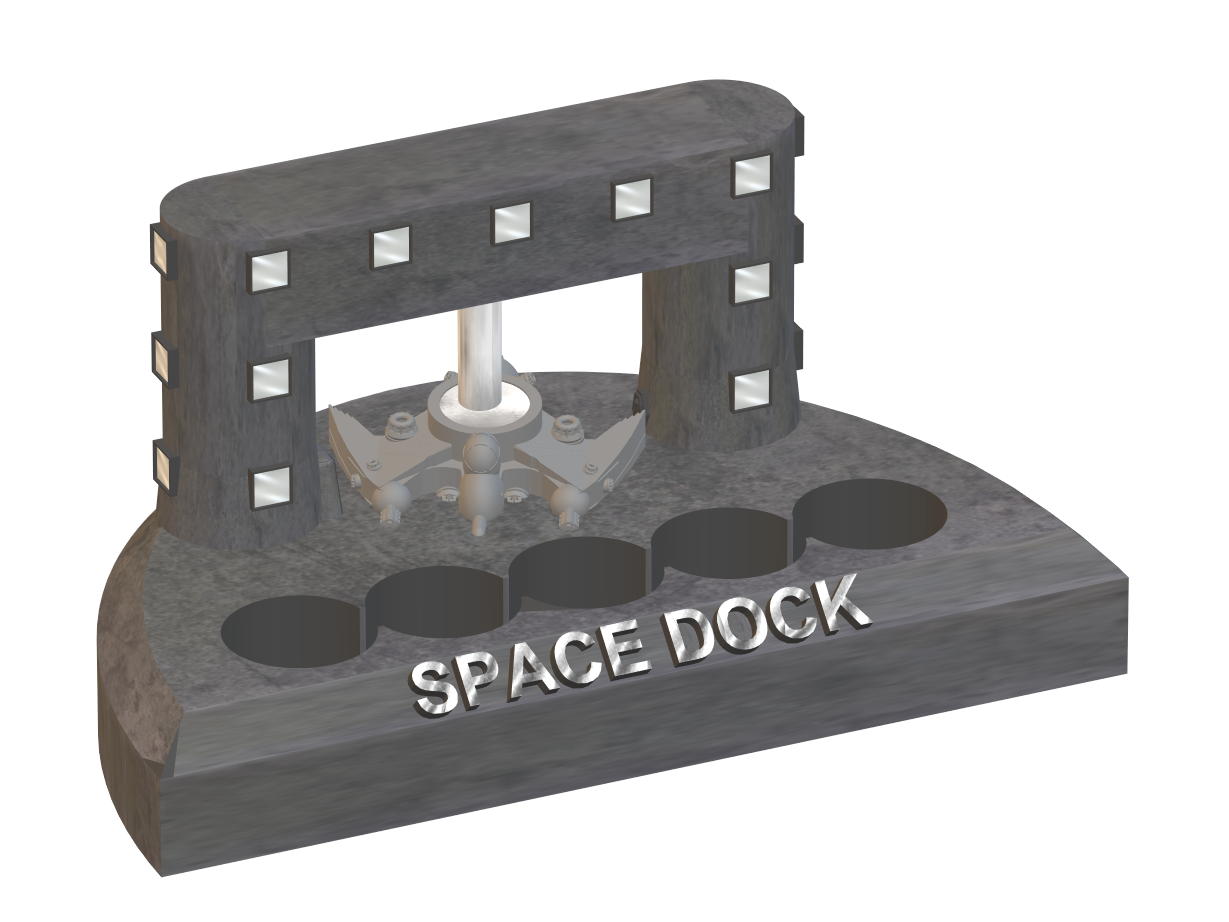
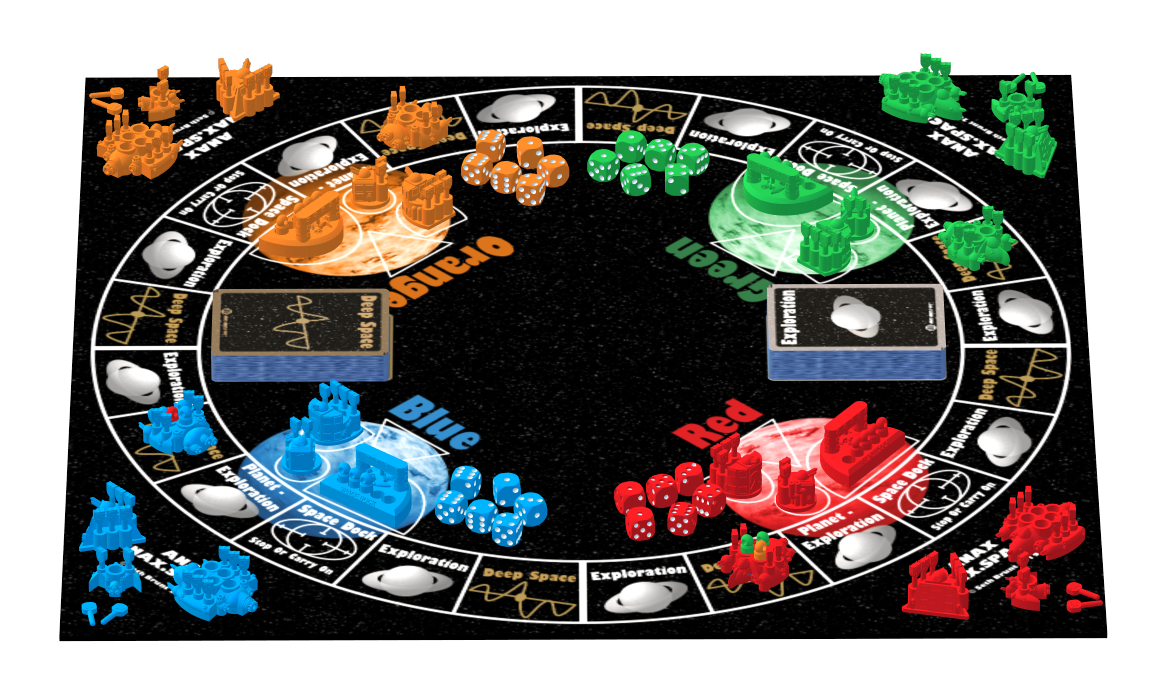
The Board in 3D
Adding to my 3d printing capabilities
Just built my anycubic Kossel

A Bit of My Design Process
Where do I start? I think the most accurate statement I can make is “I try”. I am a “Logical” not a “Creative” by nature. The rules came pretty easily but I struggle creating the artwork. All of the art work is my own but I will be getting professionals to make them better.
I came up with the admiralty while trying to work out the back story to the game. That led to me using sea birds for the ships. I will post up more about the admiralty when i have polished it.
The Rule of 3 governs a lot of my game:
- The exploration cards are split between low, medium and high value
- The deep space cards are split into Bad, good and other
- There are 3 bases
- There are 3 player spaceships.
The rest of it is lots of play tests, taking on peoples feedback to get the correct levels of Challenge and Achieving.
I have used various different tools to create the prototypes:
- I started writing the rules and back story in Word.
- I used Visio to created the game board, Exploration Cards, Deep Space Cards, commander cards.
- I use GIMP to create the planets and to do most image manipulation as I find Photoshop counter intuitive. Quite a few of the graphics start as a blocky drawing in Visio but get finished in GIMP.
- In the last month I have been recreating everything except the manual in Illustrator. This is necessary to be able to create CMYK documents to send to the Printers.
- For 3D models I have been using 3D Builder. It is just easy. I have used Sketchup and blender for the odd bit but usually for conversion. the latest models are all completly 3D builder. I use Cura for creating the final GCODE to send to the 3D printer.
- I purchased a HP color laserjet MFP to print a lot of the materials as it started getting very expensive getting things printed at the Printers.
- For the 3D prints I initially used 3D hubs but then they kicked out the locals and upped the prices. I purchased a Monoprice Select Mini v1 and started printing my own. It printed really well but then had a couple of issues so i ended up buying a Monoprice Select Mini v2 so i could print the parts that needed fixing!. The v2 never printed as well as the v1 and started getting issues as well. They are both fun printers but I ended up spending more time fixing them than I did printing. I now have a Monoprice Select Mini delta. It is a faster printer and was a third less the price of the other two. I also now have an Anycubic Kossel delta in a box. I will put it together next week all going well.
I will share more soon.
Public play test
First public playtest with revised rules will be at ECM Manchester April 20th. http://elitemeet.info
Coming Soon
The Game is going through final development and play testing.
